How to Remove Wrinkles from a Backdrop in Photoshop
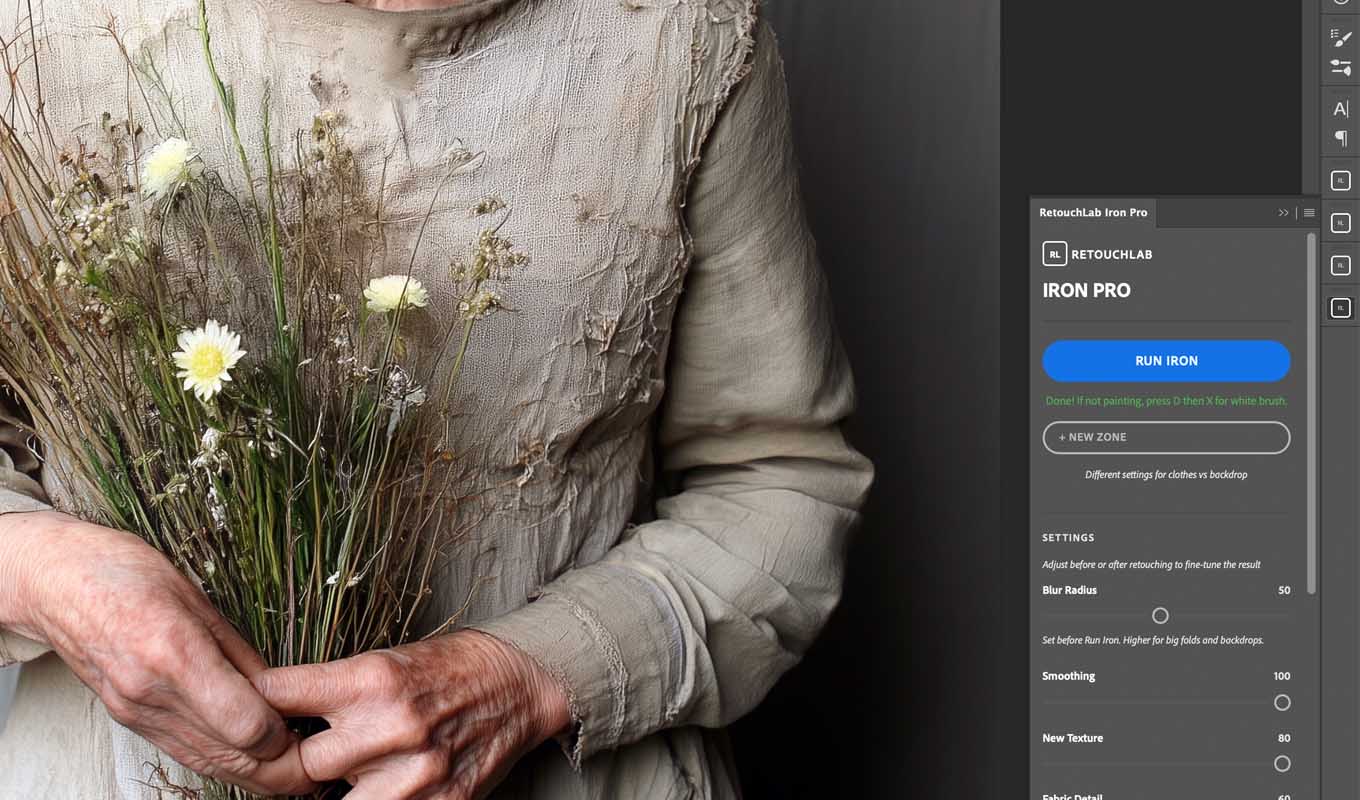
A wrinkled backdrop is a different problem from a wrinkled shirt. The folds are bigger, softer and usually out of focus. There is almost no fine texture you need to protect, only grain. That makes backdrops easier in one way, and harder in another: the hard part is always the edge where the backdrop meets hair.
Here is how I smooth a wrinkled backdrop in Photoshop, what to do around hair, and how to stop the wrinkles before they reach the camera. For clothes, the full guide is how to remove wrinkles from clothes in Photoshop.
Paper vs Cloth Backdrops
- Paper rolls: the problems are dents, creases where the roll was squeezed, footprints and scuffs on the floor sweep, and the line where the paper curls. Paper has no real texture, so a strong blur is fine.
- Muslin and cloth: the problems are storage folds and long ripples. Muslin often has a mottled, painted look that you want to keep. Blur too much and a hand-painted backdrop turns into a flat digital gradient.
- Vinyl: shiny, so wrinkles show as bright lines of reflected light. Treat them like paper creases.
Method 1: Median Blur on a Mask
This is the classic way, and it works on most backdrops.
- Protect the subject. Go to Select > Subject. Check the selection around hair, then save it with Select > Save Selection so you can load it again.
- Duplicate and blur. Press Cmd/Ctrl+J. On the copy go to Filter > Noise > Median. Use a big radius, often 20 to 60 px depending on the file size, until the wrinkles turn into soft tone. Median keeps a little more structure than Gaussian Blur, which helps with mottled muslin. For paper, Filter > Blur > Gaussian Blur works just as well.
- Mask it to the backdrop. Hold Alt/Option and click the Add Layer Mask icon to add a black mask. Paint white with a big soft brush over the wrinkled parts of the backdrop.
- Stay off the edges. Load the saved subject selection and fill it with black on the mask, so the blur never touches the person.
- Add grain back. A blurred backdrop is cleaner than the rest of the photo. Add a new layer filled with 50% gray in Overlay mode, then Filter > Noise > Add Noise at a low amount, Gaussian, Monochromatic. Lower its opacity until it matches.
One warning on smooth gradients: in 8-bit, a heavily blurred backdrop can show banding, visible steps in the tone. Work in 16-bit when you can (Image > Mode > 16 Bits/Channel), and the added grain also hides banding.
Backdrop Pro: the backdrop wrinkle remover for Photoshop
One click builds the setup, then you paint over the backdrop. Wrinkles, creases and dust soften, grain is added back so the background does not band, and every slider stays adjustable.
GET BACKDROP PRO →“I can't explain how happy I am to spend less time fixing backdrops and more time enjoying photography. Something that used to take me ages now takes seconds. Such a relief!”
“I was genuinely surprised by how quickly this works. What used to take me several minutes now takes around 10-20 seconds. That's a huge difference when you're editing hundreds of images!”
“I'm extremely picky about my backgrounds. Even the tiniest crease drives me crazy once I open an image in Photoshop. A few strokes and my backdrop looks clean again. I'm obsessed!”
“I've tried different techniques for backdrop cleanup, but this is by far the fastest workflow I've found. The results are clean, and it takes seconds.”
“I can't explain how happy I am to spend less time fixing backdrops and more time enjoying photography. Something that used to take me ages now takes seconds. Such a relief!”
“I was genuinely surprised by how quickly this works. What used to take me several minutes now takes around 10-20 seconds. That's a huge difference when you're editing hundreds of images!”
“I'm extremely picky about my backgrounds. Even the tiniest crease drives me crazy once I open an image in Photoshop. A few strokes and my backdrop looks clean again. I'm obsessed!”
“I've tried different techniques for backdrop cleanup, but this is by far the fastest workflow I've found. The results are clean, and it takes seconds.”
Method 2: Content-Aware Fill and Patch
For single dents, footprints on the sweep or one hard crease line, blur is the wrong tool. Use replacement instead.
- Patch Tool: draw around the dent, drag to a clean part of the backdrop with the same brightness. Fast and predictable on paper.
- Edit > Fill > Content-Aware: select the problem with a little margin and fill. Good for a footprint in an empty floor area.
- Spot Healing Brush (J): for small scuffs and dust.
The limit is hair. Content-Aware Fill near hair samples hair strands and the edge of the head, and puts them where they do not belong. You get smudges, half-strands and repeated bits of background. Near hair, either leave a gap and blur instead, or clone by hand with the Clone Stamp (S) at low opacity. Flyaway hair over a wrinkled backdrop is the slowest part of this job, and no automatic method handles it perfectly.
Method 3: Backdrop Pro with a Brush
I make Backdrop Pro, so weigh that. It is a Photoshop plugin that builds the blur, texture and grain layers in a group with a black mask, then you paint over the backdrop. It is not AI. It uses Photoshop filters and layers and runs offline on your computer.
- Save first. CLEAN BACKDROP flattens the document, so work on a copy.
- Set Blur Radius before you press the button. It goes from 10 to 200 px and starts at 40. Small marks need less, big soft folds in muslin need more.
- Press CLEAN BACKDROP and paint white over the wrinkles, creases and dust. Press X to swap to black and erase near hair and props. Change brush size with [ and ].
- Adjust after painting. Smoothing sets how much the folds melt. Backdrop Detail brings back the original surface, which keeps a painted muslin from turning into a flat digital gradient. New Texture adds fine texture back over the smoothed areas.
- Leave a little Grain on. It starts at 10, so a smooth background does not show banding stripes after the blur.
- Press + NEW ZONE for a second area with its own settings, for example big folds at a high radius and the area near hair at a low one.
Limits: it smooths, it does not replace. Dents, footprints and torn paper still need Patch or Content-Aware Fill. Hair edges still need care with the brush. It works on one photo at a time. If the clothes are wrinkled too, Iron Pro is the same idea tuned for fabric.
Which Method When
| PROBLEM | METHOD |
|---|---|
| Soft folds across muslin | Median on a mask, or Backdrop Pro at a high Blur Radius |
| Long creases in paper | Gaussian or Median on a mask |
| Dent, footprint, scuff | Patch Tool or Content-Aware Fill |
| Wrinkles behind flyaway hair | Blur on a careful mask, or clone by hand |
| Banding after blur | 16-bit, then add grain |
Prevent Backdrop Wrinkles on Set
- Steam muslin before the shoot, or hang it a day early so gravity pulls the folds out. Store it rolled, not folded, if you can.
- Keep paper under tension. Pull fresh paper down for each session and cut off the dirty, dented part of the sweep. A clamp at the bottom of the roll stops it from rolling back and rippling.
- Move the subject away from the backdrop. More distance means the backdrop is further out of focus, and soft wrinkles blur on their own. It also stops the subject's shadow from landing on the folds.
- Light the backdrop evenly. Side light rakes across folds and makes every ripple visible. Light from the front flattens them.
- On white, light it a little brighter. A white backdrop that is slightly overexposed hides small wrinkles, as long as you do not spill so much light that it wraps around the subject's edges.
Backdrop and Clothes in the Same Photo
Most of the time the backdrop is not the only thing wrinkled. Smooth the backdrop first with the big radius, then do the garment separately with a small radius, so the fabric keeps its weave. The shirt part is in how to iron a shirt in Photoshop, and for business portraits on a gray backdrop see fixing a wrinkled shirt in a headshot.
Backdrop Pro: the backdrop wrinkle remover for Photoshop
One click builds the setup, then you paint over the backdrop. Wrinkles, creases and dust soften, grain is added back so the background does not band, and every slider stays adjustable.
GET BACKDROP PRO →If you only have Lightroom, a background mask with negative Clarity and Texture softens backdrop folds, but it cannot blur them away the way a Photoshop layer can. The full Lightroom method is in how to fix a wrinkled backdrop in Lightroom. If the backdrop itself is the problem before the shoot, see how to get wrinkles out of a backdrop.
Frequently Asked Questions
How do I get wrinkles out of a background in Photoshop?
Duplicate the layer, apply Filter > Noise > Median or Gaussian Blur at a large radius, add a black layer mask and paint white over the wrinkled backdrop only. Keep the person masked out and add a little noise back so the backdrop matches the grain of the photo.
Can Content-Aware Fill fix a wrinkled backdrop?
It works well for single dents, scuffs and footprints in empty areas. Near hair it often samples strands and edges and puts them in the wrong place, so blur or clone by hand around the head.
Why does my backdrop show banding after blurring?
A smooth gradient in 8-bit has a limited number of tones, so heavy blur can show steps. Work in 16-bit when possible and add a fine layer of noise, which breaks up the bands.
How do you keep a muslin backdrop from wrinkling?
Steam it before the shoot or hang it early so the folds drop out, store it rolled instead of folded, and place the subject further from it so any folds fall out of focus. Even front light also hides folds better than side light.
What blur radius should I use for a backdrop?
Much bigger than for clothes. On a typical portrait file, 20 to 60 px with Median is a good starting range. In Backdrop Pro the Blur Radius starts at 40 and goes up to 200 px. Raise it until the folds turn into soft tone.