How to Remove Dark Circles Under Eyes in Lightroom
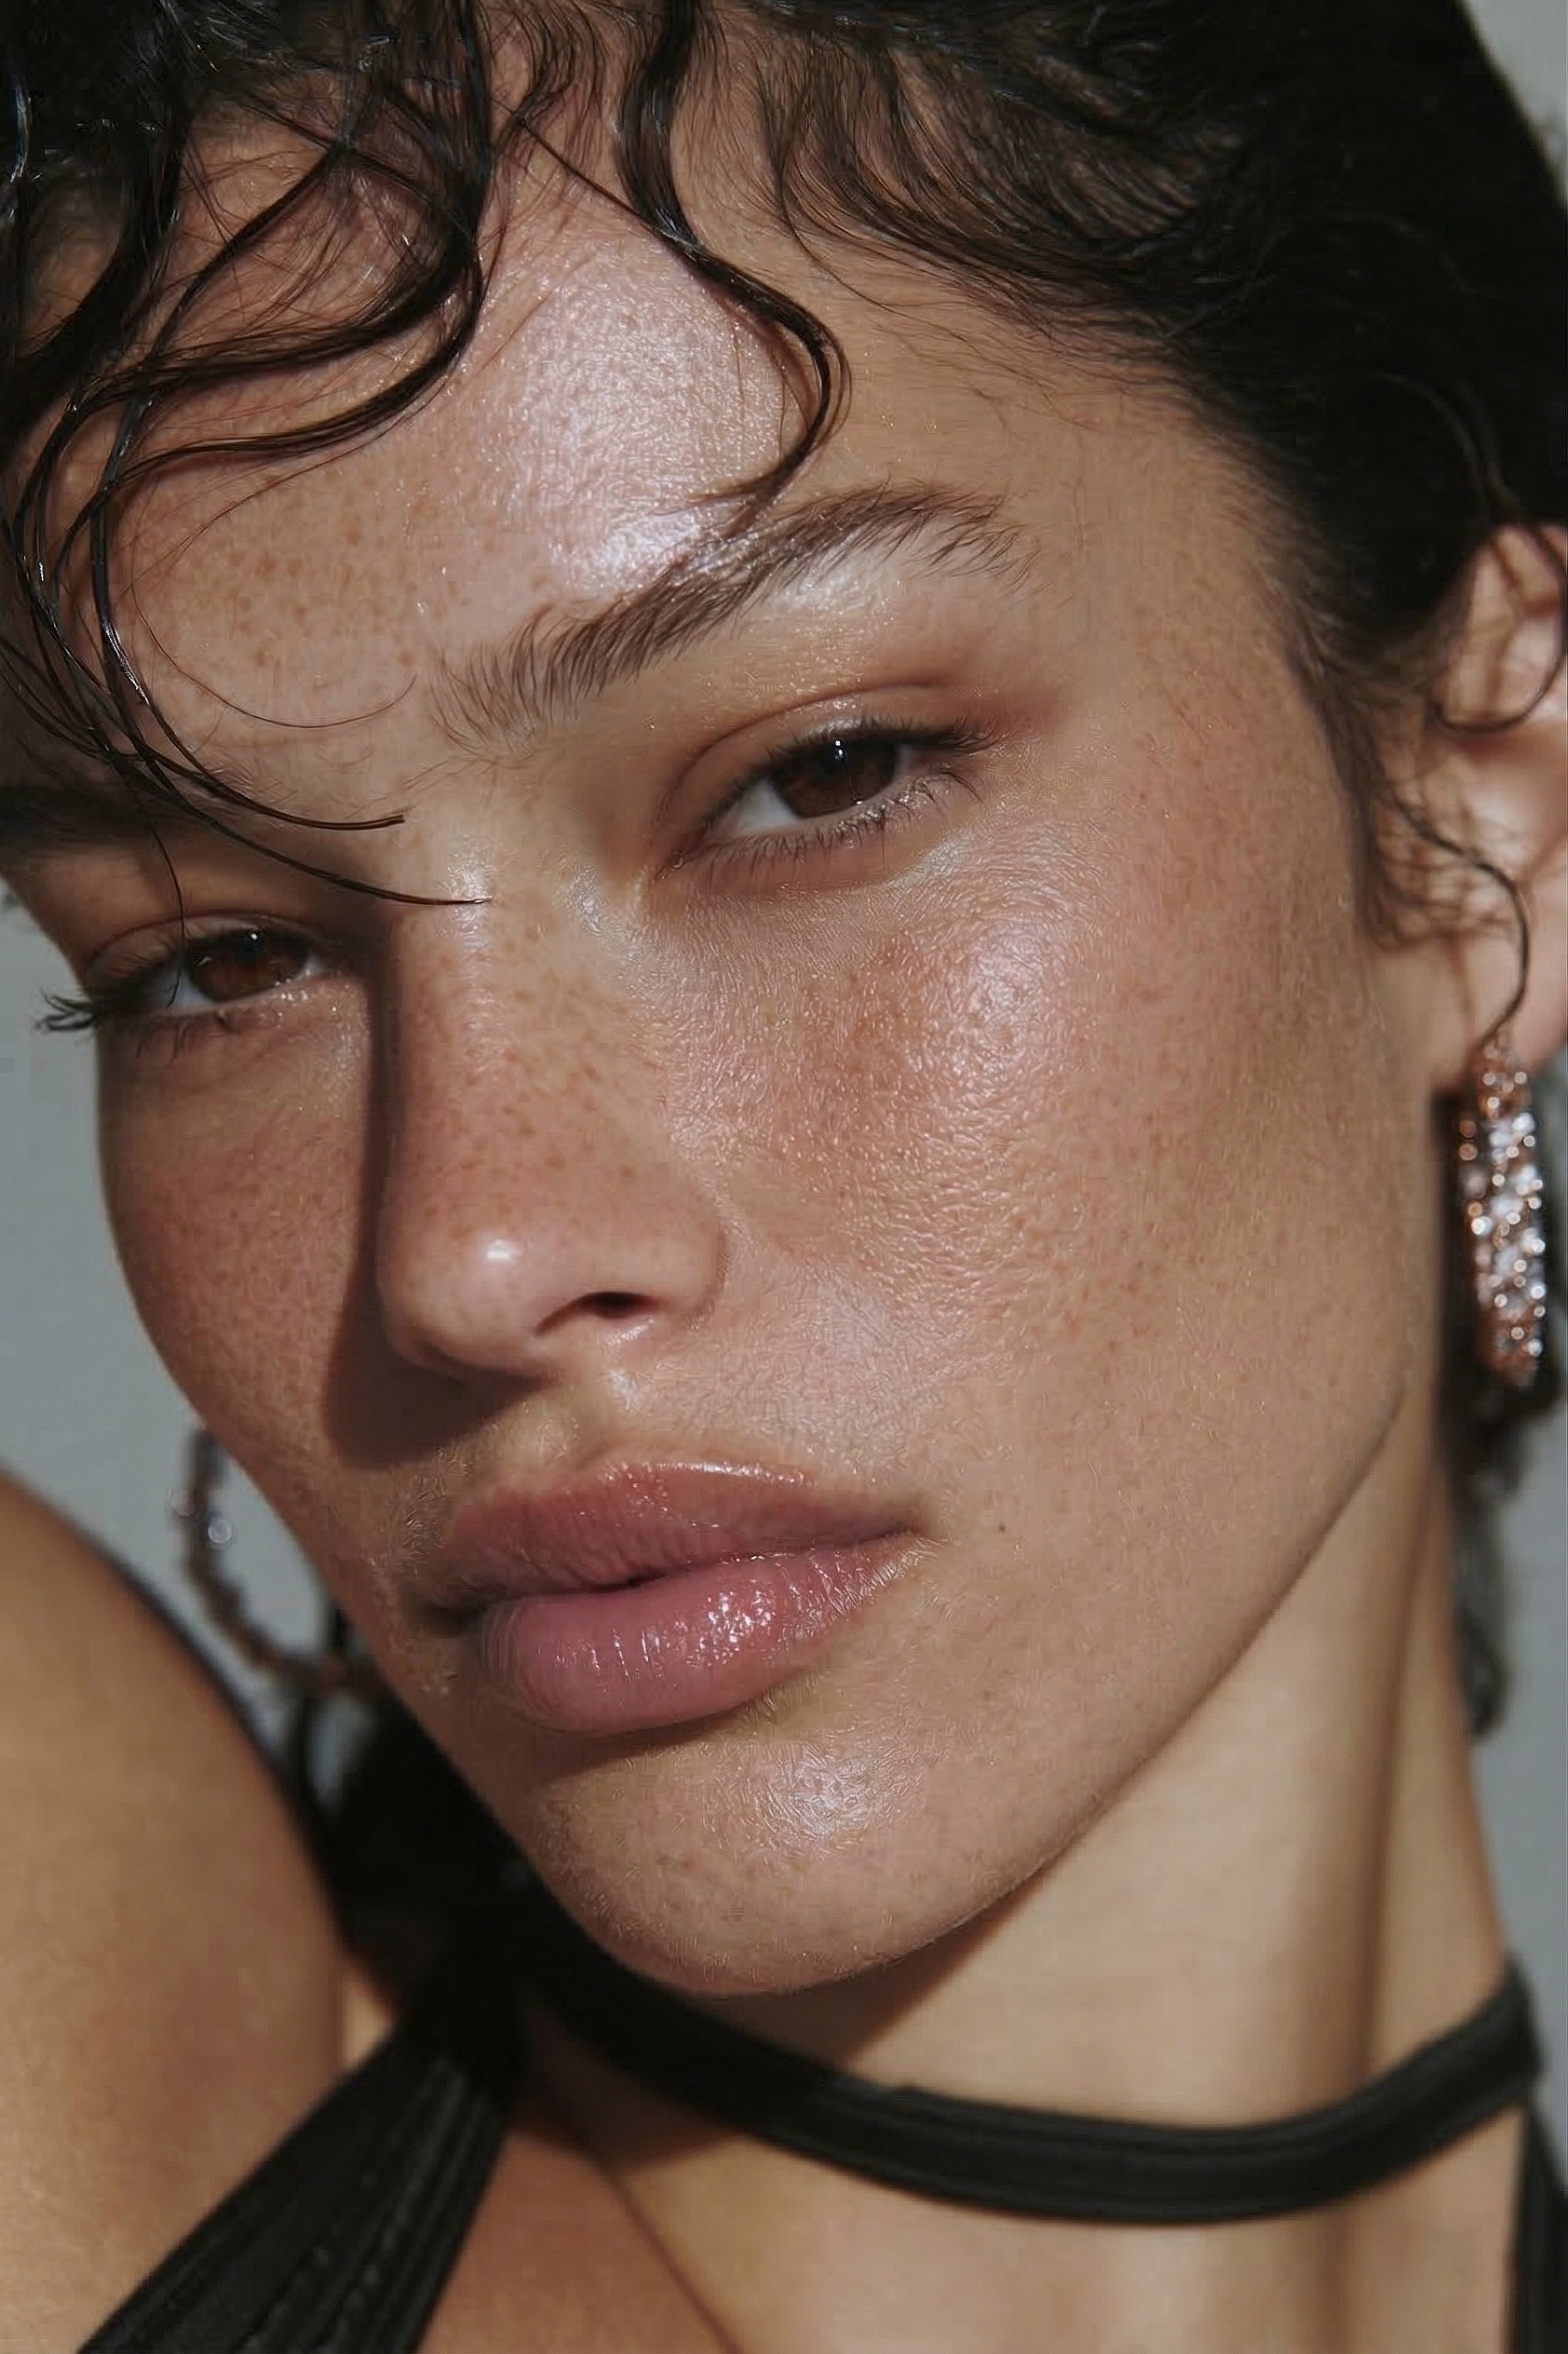 BEFORE
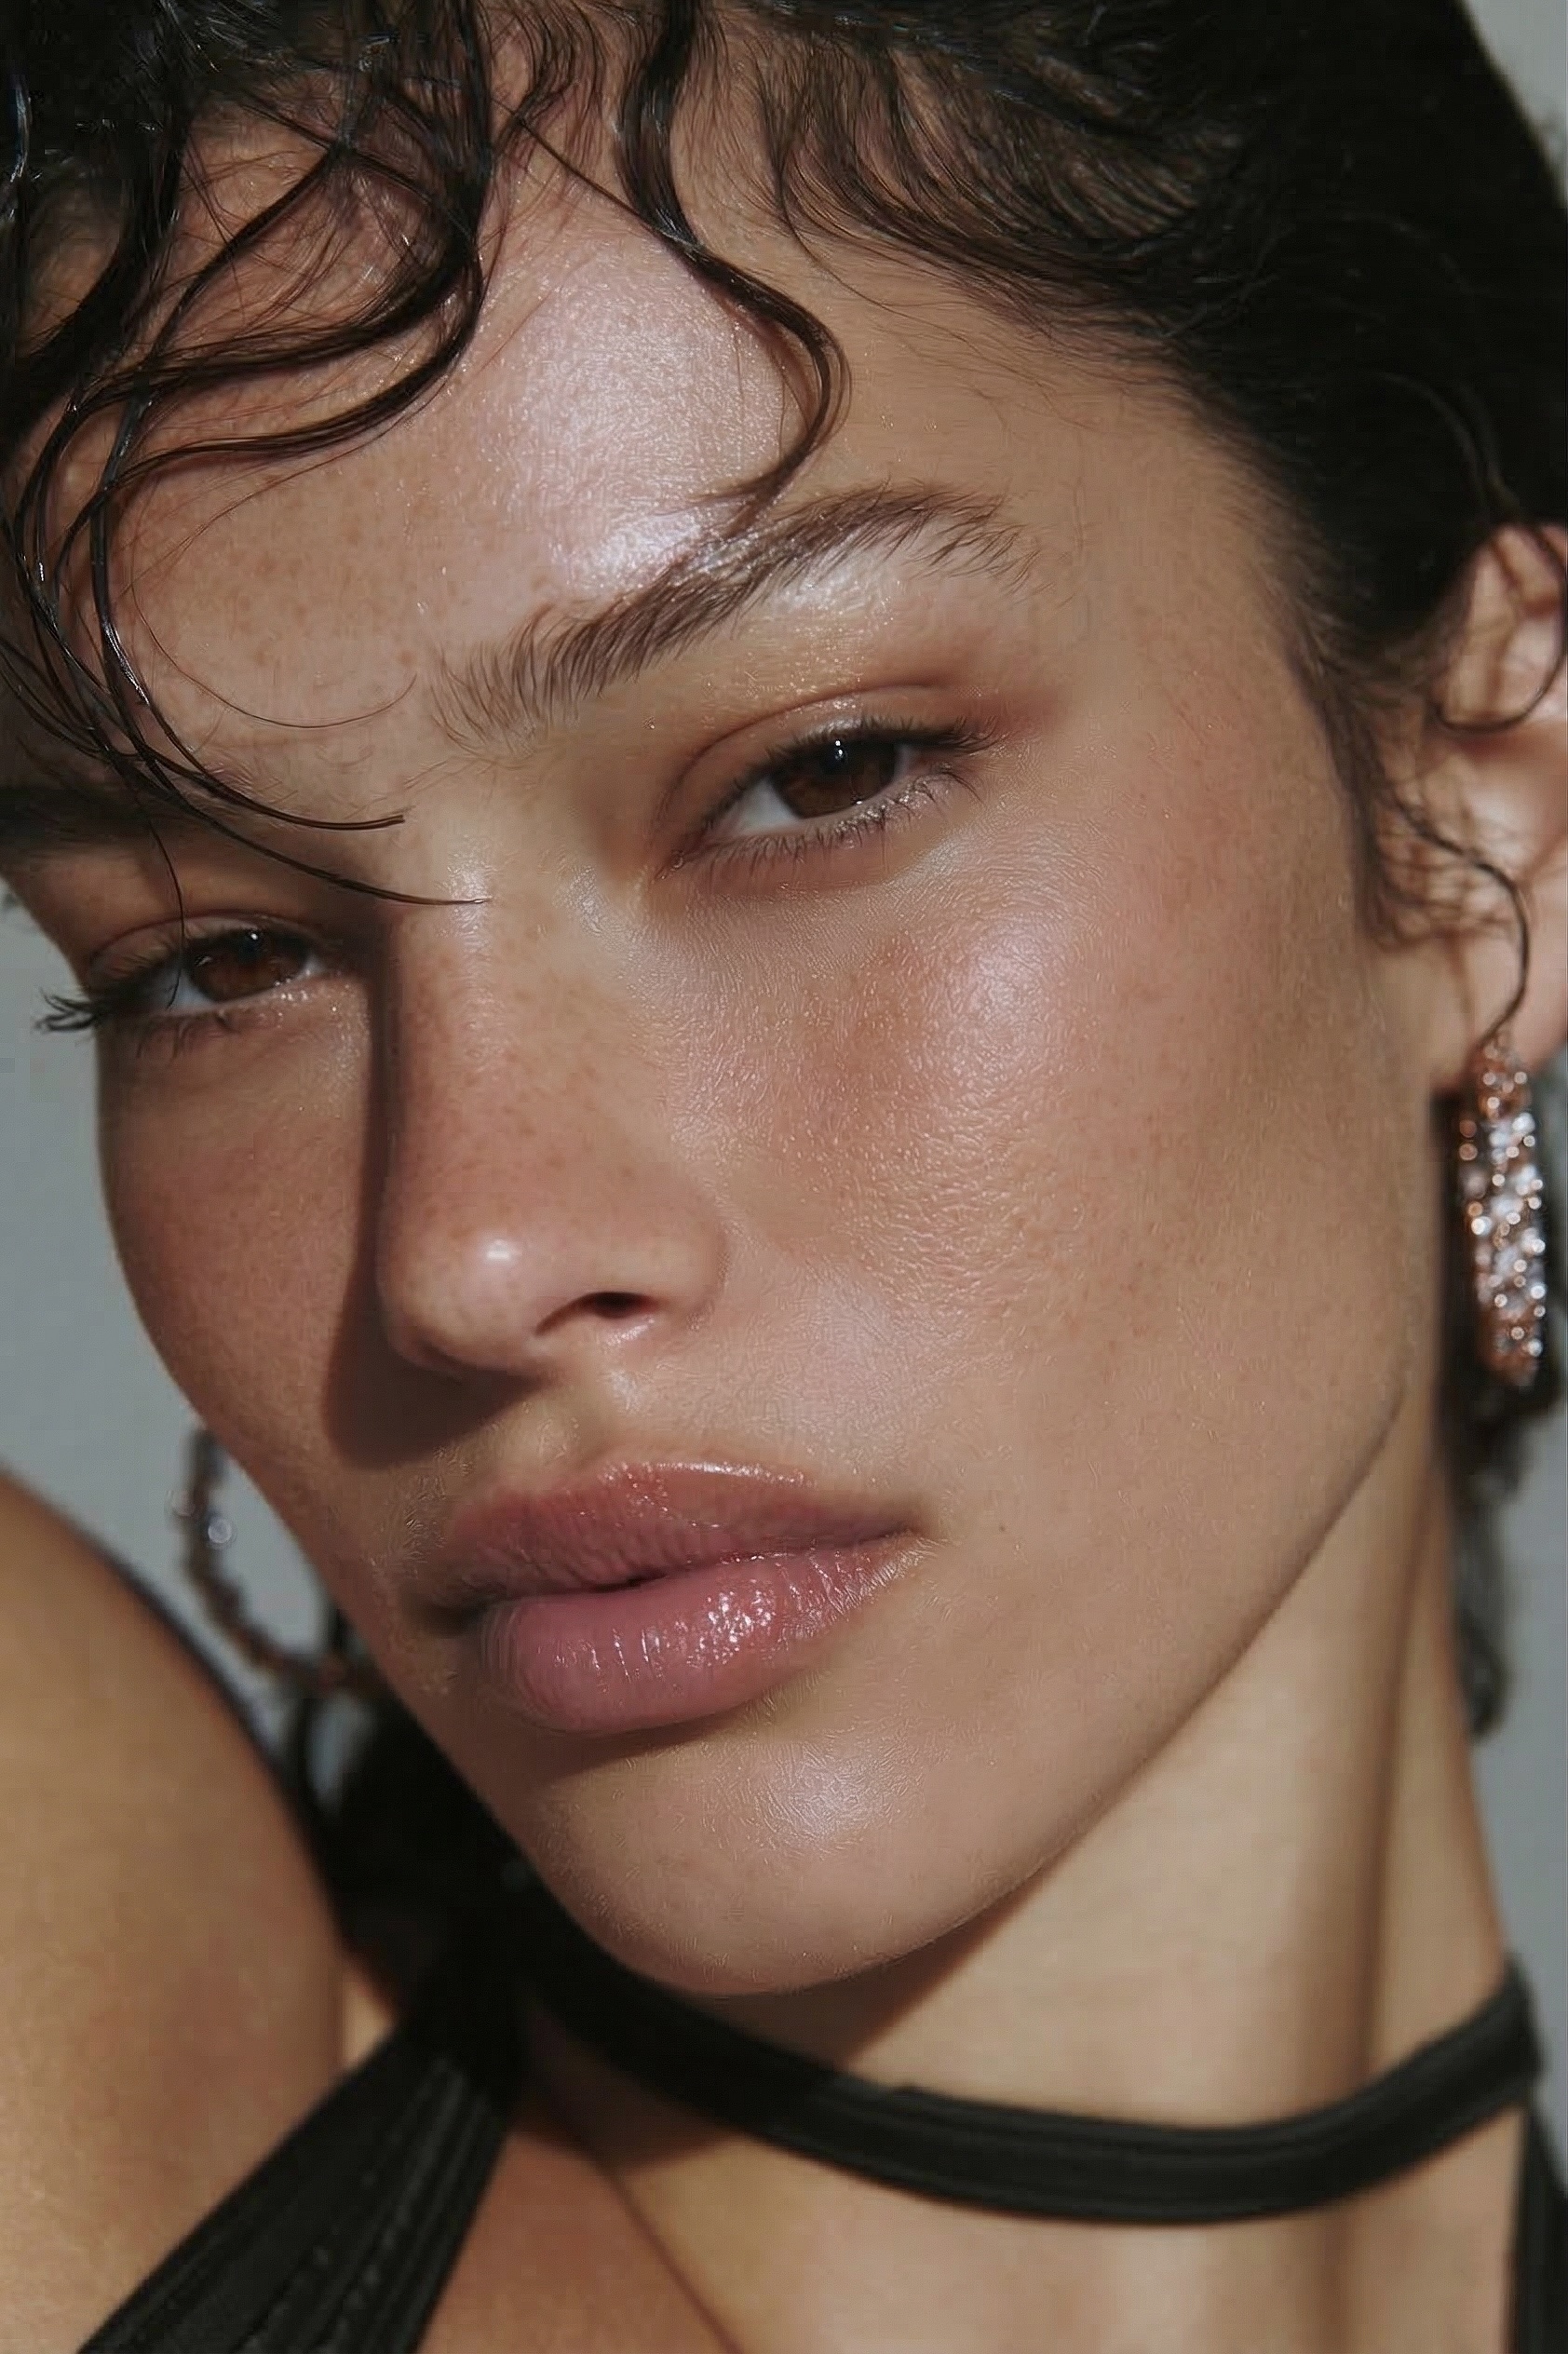 AFTER · 30s
After blemishes, dark circles are what my clients ask about most. Lightroom has no one-click fix for them, but a small brush mask with three or four sliders makes them much lighter in about a minute per photo. The goal is lighter, not gone. Under-eyes with no shadow at all look strange, and people notice even if they cannot say why.
Which Lightroom Mask Works Best for Dark Circles?
Lightroom masking has Brush, Linear Gradient, Radial Gradient, Select Subject, Select Sky, Select Background and Select People, plus range masks for colour and luminance. For under-eyes, most of them are the wrong shape.
Select People gives you parts like Face Skin, Body Skin, Eyebrows, Eye Sclera, Iris and Pupil, Lips, Teeth and Hair. There is no under-eye part. Face Skin covers the whole face, so if you lift it, the cheeks and forehead go up too. Eye Sclera and Iris and Pupil are for the eyes themselves, not the skin below them.
So the right tool is the Brush. I paint the circle by hand. It takes about ten seconds per eye.
Step by Step in Lightroom Classic
- Create a Brush mask. In the Develop module, open Masking and choose Brush, or press K.
- Set a soft brush. Feather high, around 70 to 90, and Flow low, around 30 to 50, so you can build the mask up in a few strokes. I keep Auto Mask off here: a dark circle has no hard edge for it to follow, and it can leave patchy gaps.
- Paint only the dark area, from the inner corner along the shadow. Stay off the lash line and the edge of the lower lid, or the eye loses its shape. Tick Show Overlay to see exactly where you painted. Paint both eyes in the same mask so the settings match.
- Lift the light. Start with Exposure +0.10 to +0.30 and Shadows +10 to +25. Go up slowly. A little goes a long way.
- Neutralize the colour. Blue or grey circles: move Temperature a little towards yellow, around +5 to +10. Purple circles: move Tint a little towards green, around -3 to -8. Brown circles, common on darker skin, need mostly light and very little colour change.
- Leave Texture and Clarity at 0. If the fine lines look heavy, Texture -5 to -10 at the most.
- Compare and dial back. Click the mask's eye icon to turn it off and on. If the area now looks lighter than the cheek, lower the mask's Amount slider until it blends.
These numbers are starting points, not rules. Every face and every light is different, so judge by eye at 100% and at fit-to-screen.
How to Keep the Skin Texture
The most common mistake is trying to smooth the dark circle away. Lightroom cannot separate tone from texture, so any softening in that area takes the fine lines and pores with it, and you get a flat grey patch under each eye. That patch is what makes an edit look fake.
So lift the light and fix the colour, but do not blur. At 100% you should still see the fine lines and pores, just lighter. Too bright is as bad as too dark: if the under-eye is brighter than the cheek next to it, back off. If you also want to soften the rest of the face, do it in a separate Face Skin mask, as in my Lightroom skin smoothing guide, not in the under-eye brush.
Dark Circles in Lightroom Mobile
- Open the photo, tap Masking, tap the + to add a new mask and choose Brush.
- Make the brush small and soft, pinch to zoom in and paint the shadow under each eye.
- Under Light, raise Exposure and Shadows a little. Under Color, adjust Temp and Tint the same way as on desktop.
- Leave Texture at 0 and tap the check mark.
On a phone screen it is easy to overdo it, because small screens hide the edge of the mask. Zoom in close before you export.
Where Lightroom Stops
A brush mask lifts the whole area by the same amount. Real dark circles are not even: they are deepest at the inner corner, there is a soft hollow under the lid, and often a small crease. Lightroom cannot follow that shape pixel by pixel, so you either leave the deepest part dark or make the lighter part too bright.
Photoshop dodge & burn does it properly. You lighten only the dark parts, stroke by stroke, and the texture stays because you only change the light. It is the same technique I use to even out the rest of the face: how to even skin tone in Photoshop. In my own work I do it with RetouchLab Skin Pro, my Photoshop plugin: one brush that does dodge & burn, frequency separation and tone evening, so under-eyes, blotches and uneven tone are one pass. Press Cmd/Ctrl+E in Lightroom, retouch, save, and the file comes back to your catalog.
When the brush mask is not enough
RetouchLab Skin Pro is a Photoshop plugin, one Cmd/Ctrl+E away from Lightroom. One brush does dodge & burn, frequency separation and tone evening, so under-eyes get lighter and pores stay. Photoshop 2022 or newer, Mac and Windows.
GET MY FREE TRIAL →"Easy to control the strength of the effects, which helps maintain natural skin texture. A great tool that speeds up the whole process."
Augustinas Žukovas · Adobe Exchange review
Frequently Asked Questions
Can Lightroom remove dark circles under eyes?
It can make them much lighter. Paint a Brush mask under each eye, raise Exposure and Shadows a little and correct the colour with Temperature and Tint. Removing them completely usually looks unnatural.
What settings should I use for dark circles in Lightroom?
As a starting point: Exposure +0.10 to +0.30, Shadows +10 to +25, Temperature +5 to +10 for blue circles, Tint slightly towards green for purple ones, Texture 0. Then adjust by eye at 100%.
Is there a Select People option for under-eyes in Lightroom?
No. Select People has parts like Face Skin, Eyebrows, Eye Sclera and Iris and Pupil, but no under-eye area. Face Skin would lift the whole face, so use the Brush instead.
How do I fix dark circles in Lightroom mobile?
Tap Masking, then + and Brush, and paint under the eyes. Raise Exposure and Shadows under Light, adjust Temp and Tint under Color, leave Texture at 0 and tap the check mark.
Why do my under-eyes look grey or flat after editing in Lightroom?
Usually Texture or Clarity was lowered in the under-eye mask, or Exposure was pushed too far. Set Texture and Clarity back to 0 and lower the mask's Amount until it blends with the cheek.
See it work → try the free live demo