How to Even Skin Tone in Photoshop
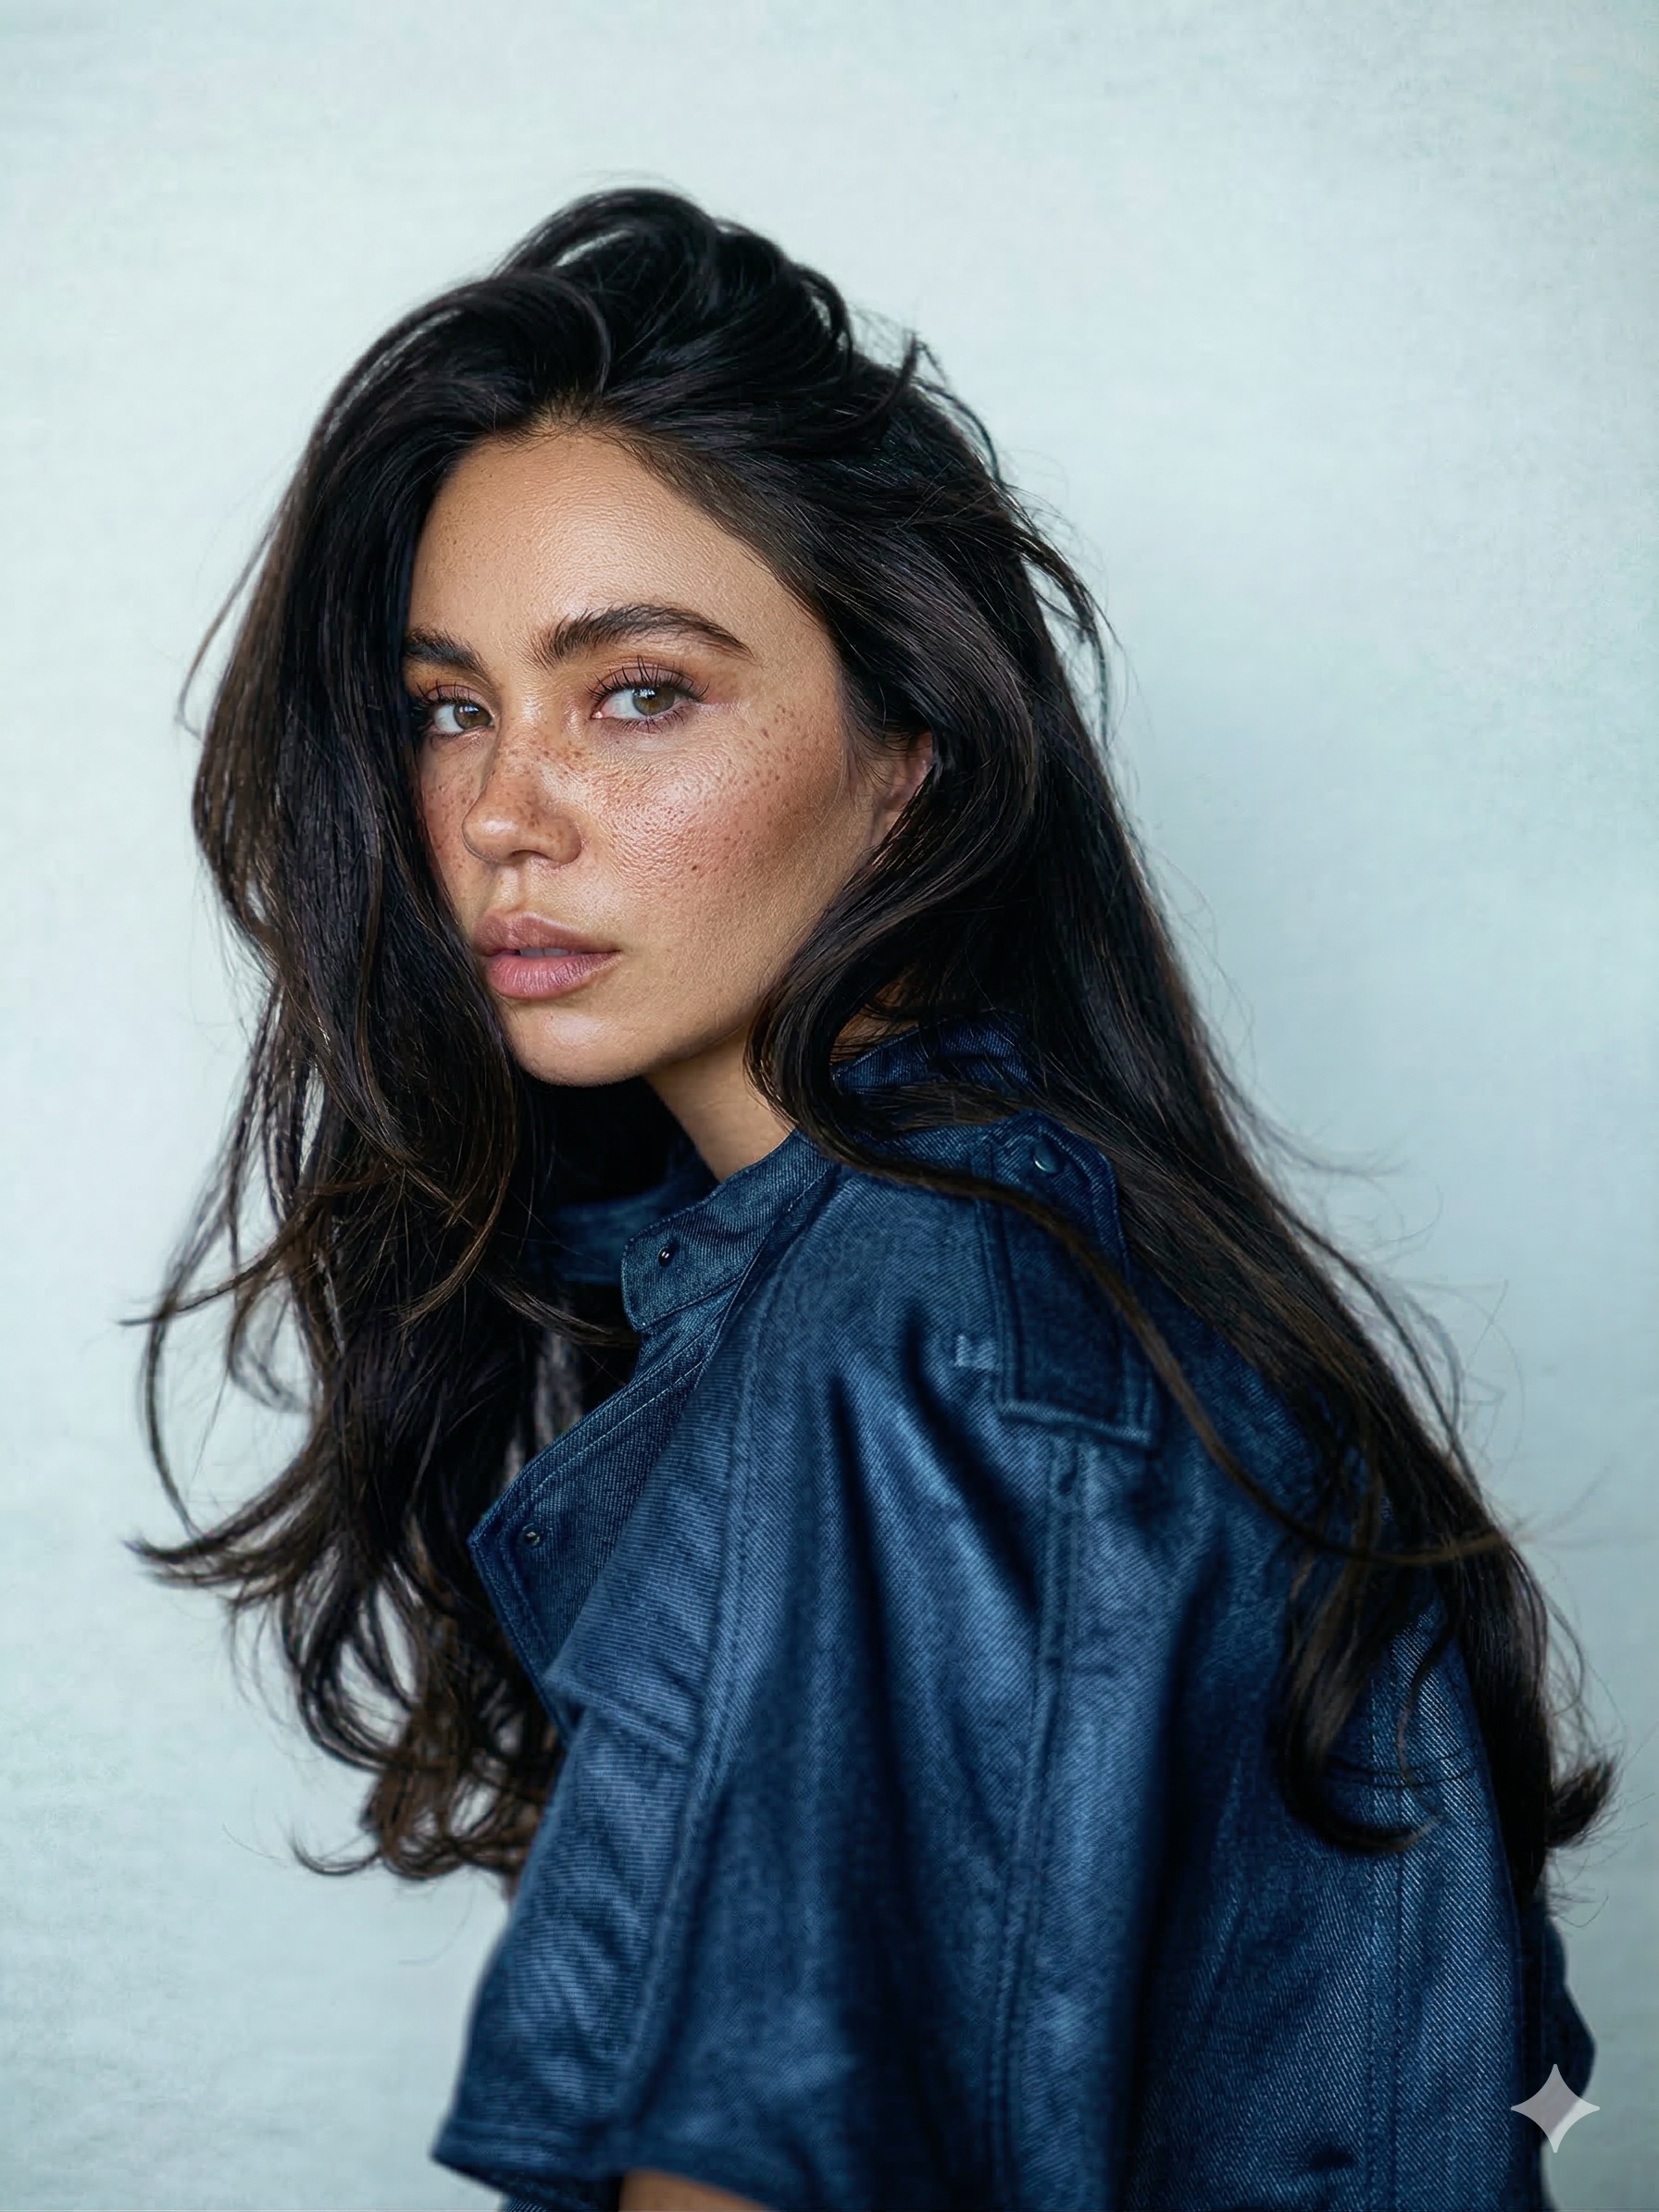 BEFORE
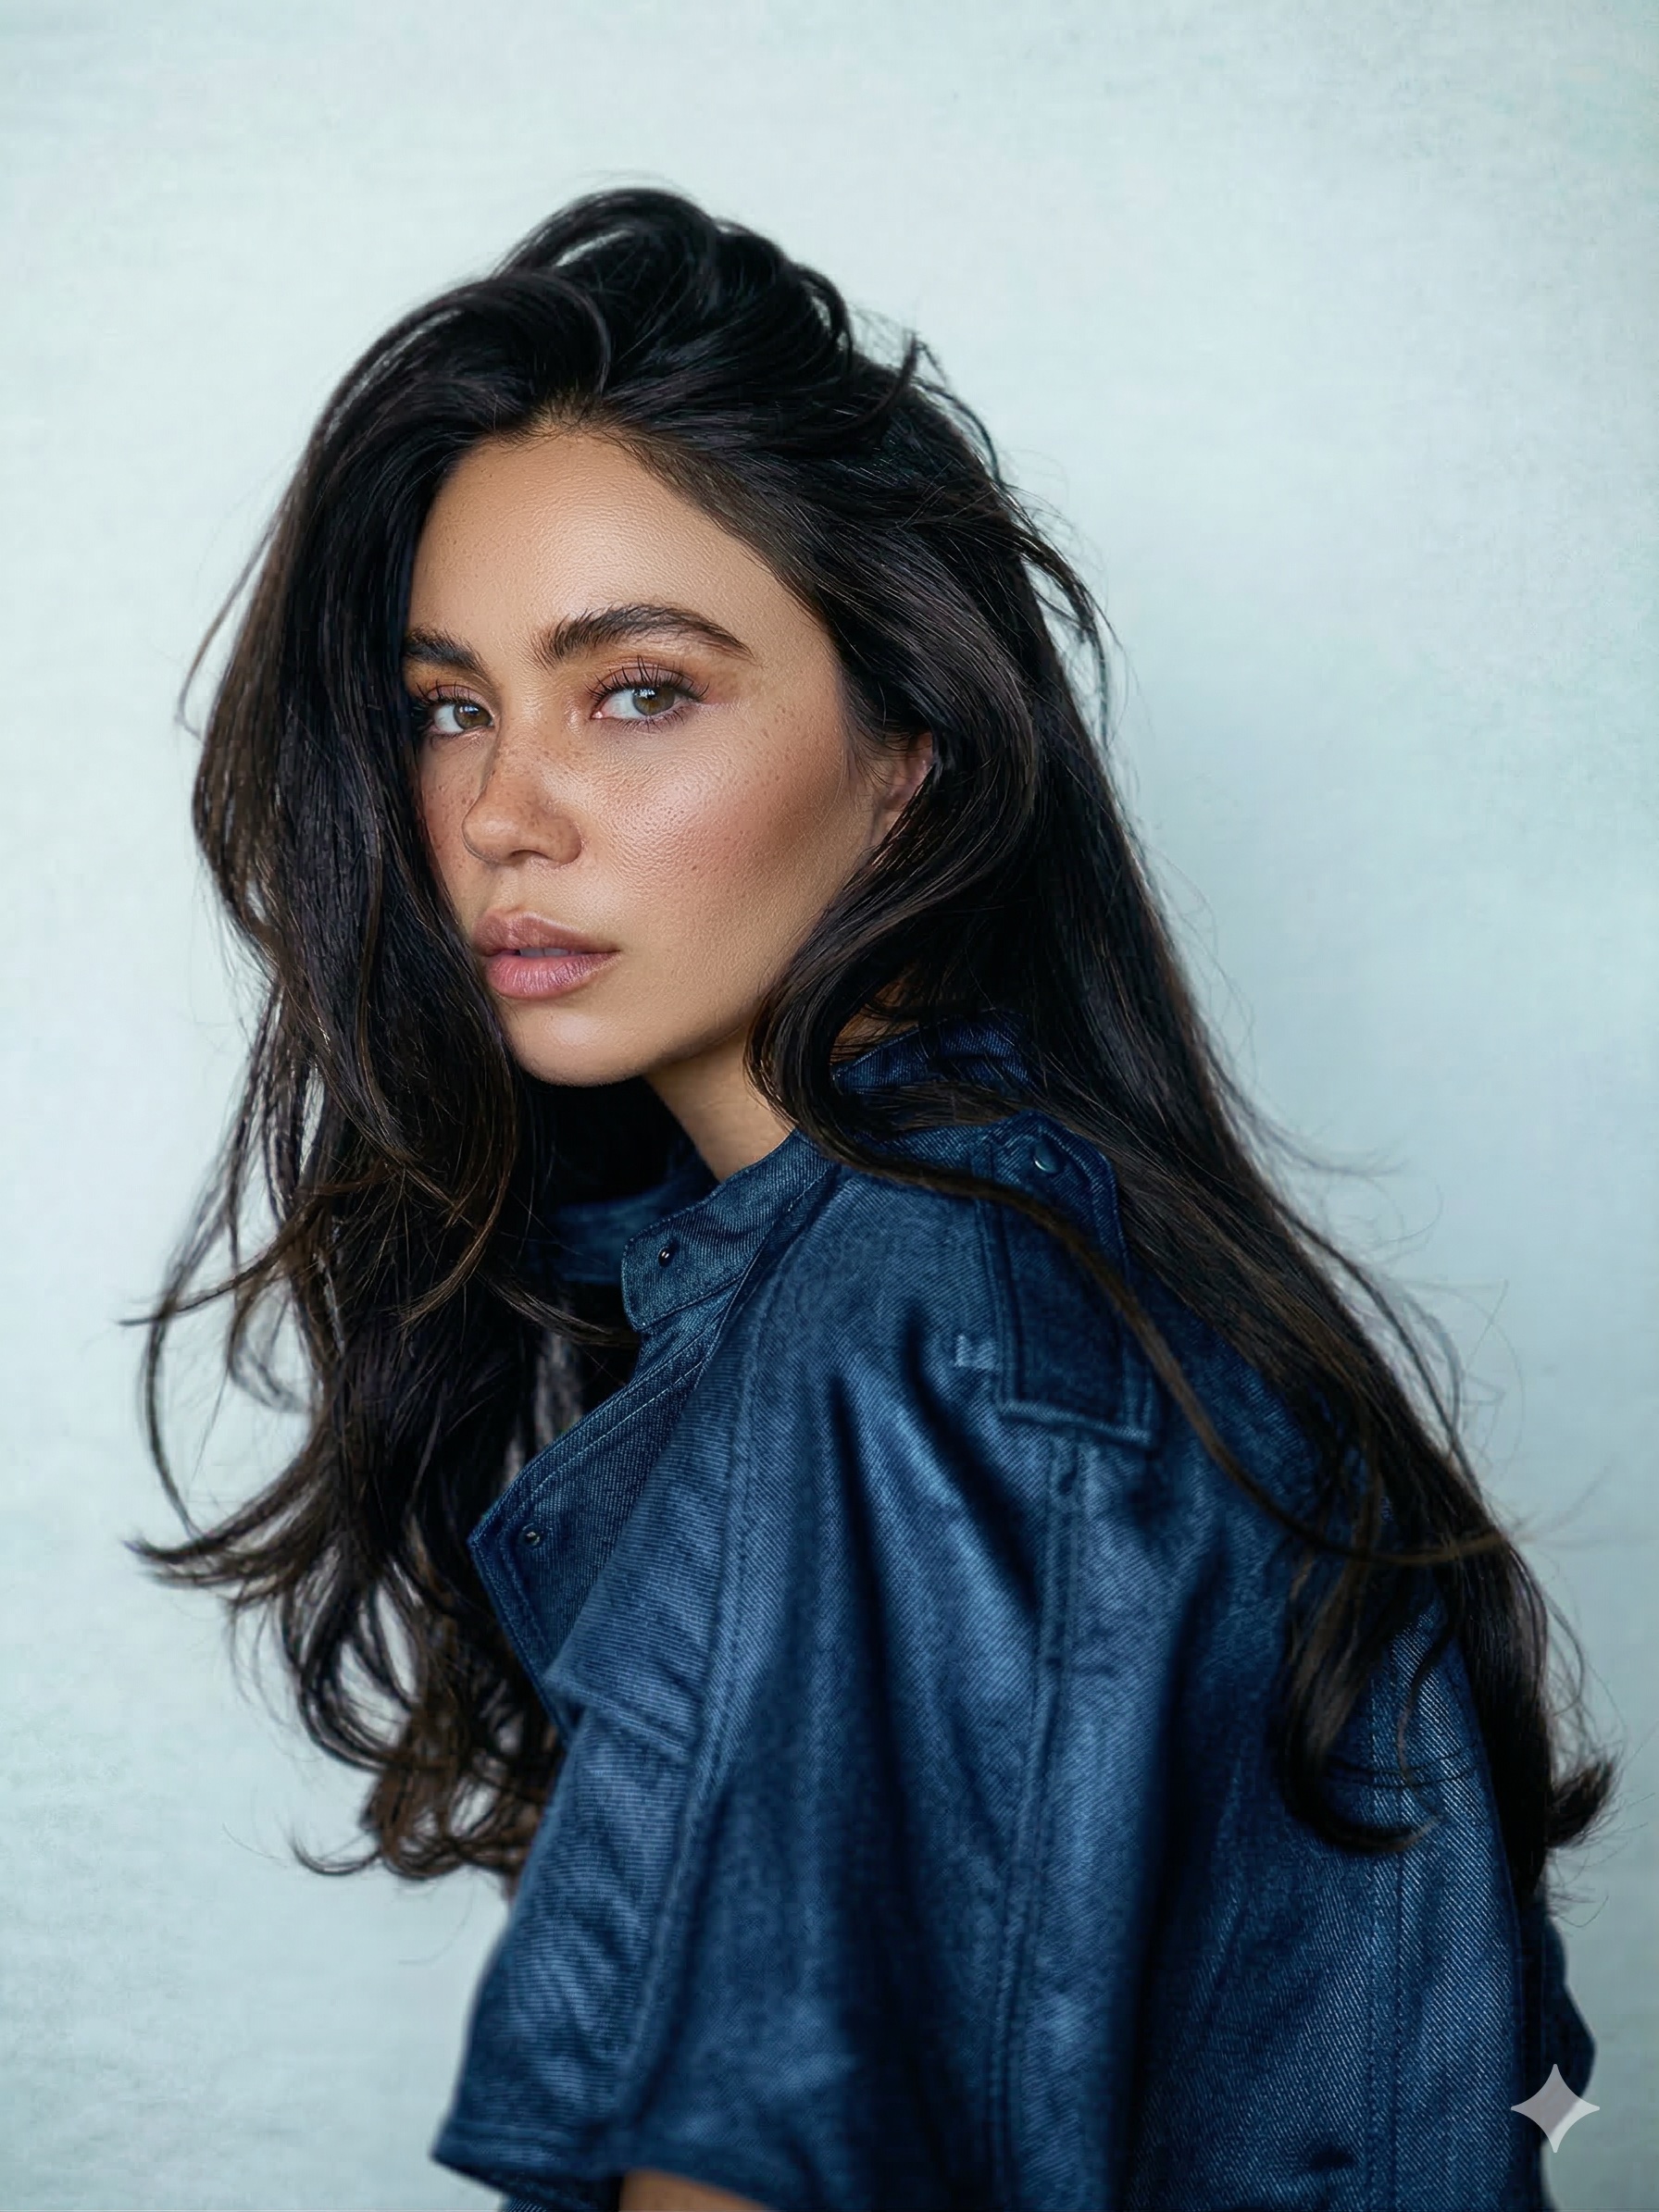 AFTER · 30s
Uneven tone — redness, dark patches, blotches — is what makes skin look tired even when it's sharp. The fix is balancing colour without flattening it.
⚡ The shortcut to even skin tone
Evening blotchy, red, uneven skin tone by hand is slow and easy to overdo. The hack: RetouchLab Skin Pro evens the tone in one brush while keeping real texture — about 30 seconds per face. Read the manual method below, or just skip to the shortcut.
FREE 3 DAY TRIAL →Why Skin Tone Looks Uneven
Before you fix it, it helps to know what you're fixing. Uneven tone comes from a few places: redness around the nose, cheeks and chin (blood flow close to the surface), dark or warm patches from sun or old blemishes, shadows that read as colour, and mixed lighting that tints one side of the face. You're not repainting the skin — you're gently pulling those areas back toward the surrounding tone.
The Manual Method, Step by Step
- Add a Hue/Saturation or Selective Color adjustment layer. Hue/Saturation is best for pulling down overall redness; Selective Color gives finer control over the reds and yellows in skin specifically. For a raw file, the Camera Raw Color Mixer does the same job earlier in the process.
- Target the reds and oranges. Lower the saturation of the reds slightly and nudge the hue until blotchy areas move toward the tone around them. Small moves — you're balancing, not erasing.
- Mask it to the skin only. Invert the layer mask to black, then paint white with a soft brush over just the skin — keep it off the eyes, lips, hair and background, which should stay their real colour.
- Build it up gradually. Lower the brush opacity and build the effect in passes rather than one heavy stroke. It's much easier to add a little more than to walk back an over-correction.
Keep the Variation
The mistake that makes skin look dead is flattening tone to one single colour. Real skin is warmer at the cheeks, cooler at the forehead, a little redder around the nose — even it out, but leave that natural variation in. If the face suddenly looks like a flat mask, you've gone too far; back off until it breathes again. New to this? Start with the beginner's guide to skin retouching.
The Fast Way
RetouchLab Skin Pro includes tone evening you brush exactly where it's needed — redness and blotches balanced, natural variation kept, in about 30 seconds. It pairs with skin smoothing in the same workflow.
Even Skin Tone in 30 Seconds
Balance redness and blotches with a brush, without flattening natural skin. Part of the same one-minute workflow.
FREE 3 DAY TRIAL →Frequently Asked Questions
How do I fix uneven skin tone in Photoshop?
Use a Hue/Saturation or Selective Color layer to gently balance reds, masked to the skin — or a brush-based tool that does it instantly.
How do I remove redness without making skin grey?
Reduce the reds gently and keep some natural variation. Pushing too far drains the life out of skin.
Is there a faster way than adjustment layers?
Yes — a brush-based plugin evens tone in seconds and keeps it consistent across a gallery.
Even Skin Tone in 30 Seconds
Balance redness and blotches with a brush, without flattening natural skin. Part of the same one-minute workflow.
FREE 3 DAY TRIAL →See it work → try the free live demo