7 Lightroom Skin Editing Mistakes That Make Skin Look Fake
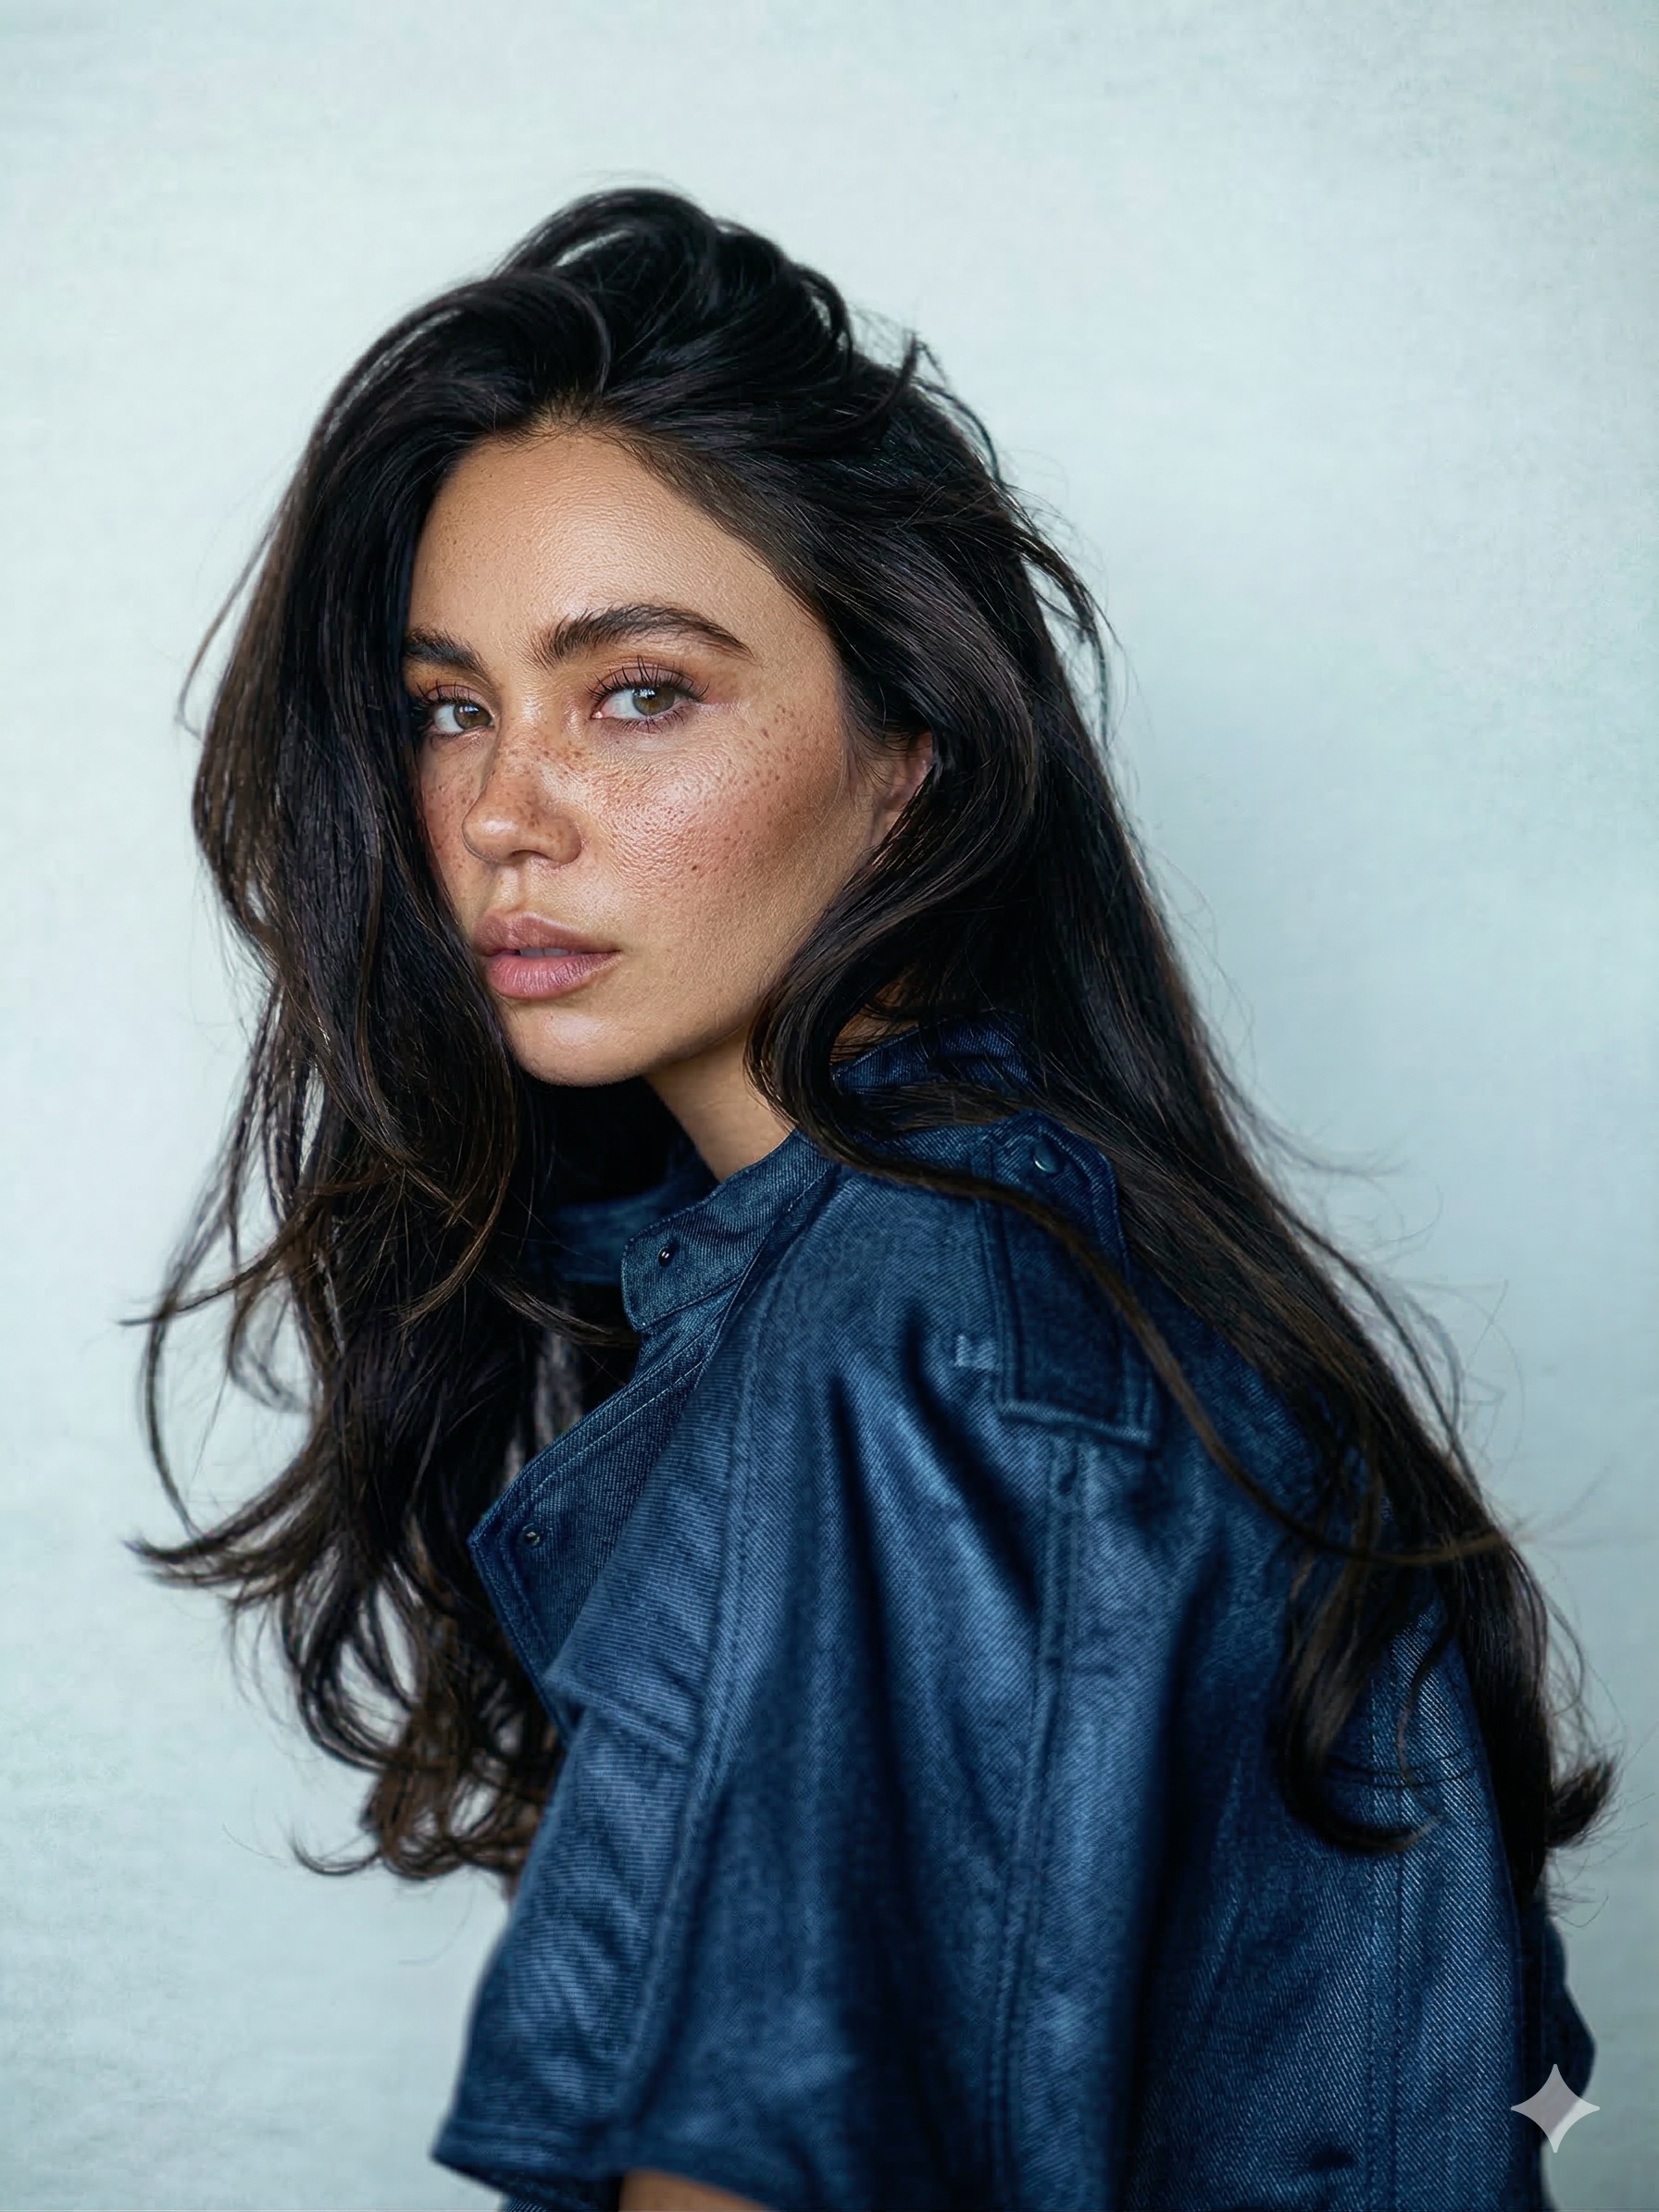 BEFORE
 AFTER · 30s
Lightroom gets blamed for a lot of plastic skin that is really operator error - and a few cases where the tool honestly cannot do what people ask of it. As a portrait photographer who culls thousands of frames a month, these are the seven I see everywhere.
1. Pushing Texture Past -50
The Texture slider is the main Lightroom skin smoother, and it is good - until about -40. Past -50 it erases pores entirely, and poreless skin is what the eye reads as "filtered". Fix: stay in the -20 to -40 range and check at 100% zoom. Full method: how to smooth skin in Lightroom.
2. Using Clarity When You Mean Texture
The classic confusion. Texture targets fine detail (pores, skin) - it is the skin slider. Clarity targets midtone contrast - it changes the whole feel of the image, and negative Clarity quickly makes faces look misty and fake. Dehaze is for atmosphere, never for skin. Fix: skin = Texture first; Clarity only in small doses (-5 to -15); Dehaze stays at zero for portraits.
3. Smoothing Without a Mask
Dragging Texture down globally softens eyes, lips, hair and fabric along with the skin - the whole photo goes mushy. Fix: always smooth inside Masking > People > Face Skin / Body Skin, so only skin is touched.
4. Sharpening the Skin You Just Smoothed
Global sharpening after smoothing re-sharpens the noise and edges inside the skin you softened - producing that crunchy, over-processed look. Fix: apply sharpening with a mask (hold Alt/Option while dragging Masking in the Detail panel) so it hits eyes and edges, not cheeks.
5. Fixing Redness with Global Saturation
Desaturating the whole image to kill red patches drains life from lips, eyes and clothing. Fix: use a People mask or HSL - lower the saturation of reds/oranges slightly, or shift hue - so only the problem tones move.
6. Healing an Entire Face in Lightroom
The Healing tool is built for a few spots. Thirty heals into an acne-covered face, Lightroom starts smudging, repeating patches and lagging. Fix: heavy blemish work belongs in Photoshop, where healing is layer-based and precise. (Honest capability map: can you retouch skin in Lightroom?)
7. Asking Sliders to Do Retouching
The deepest mistake is conceptual: sliders adjust, they do not retouch. Evening blotchy tone while keeping pores, shaping light under the eyes, dimensional skin - that is frequency separation and dodge & burn, and both need layers Lightroom does not have. Fix: accept the split. Lightroom for the gallery, Photoshop (Cmd/Ctrl+E round-trip) for the faces - manually, or with a brush that does the techniques for you.
⚡ Skip mistakes 1-7 entirely
RetouchLab Skin Pro runs the real techniques - frequency separation, dodge & burn, tone evening - in one Photoshop brush, about 30 seconds per face, pores intact. One Cmd/Ctrl+E from your Lightroom catalog.
FREE 3 DAY TRIAL →"I’m obsessed with how much time this tool saves me… with a large batch of photos it can get overwhelming - this makes it so much easier. Absolutely love it."
Miglė Aleksiūnaitė · Adobe Exchange review
Frequently Asked Questions
What is the difference between Texture and Clarity in Lightroom?
Texture targets fine detail (pores, skin) - it is the skin slider. Clarity targets midtone contrast and changes the whole image feel. For skin, use Texture first and only small amounts of negative Clarity.
Why does my skin look plastic after Lightroom editing?
Usually Texture pushed past -50, often combined with negative Clarity and no mask. Pores disappear, and poreless skin reads as fake. Stay at -20 to -40, masked to skin only.
Should I use Dehaze on portraits?
No - Dehaze is for atmospheric haze in landscapes. On faces it shifts contrast and colour in ways that fight natural skin.
Which should I adjust first, Texture or Clarity?
Texture first - it is the slider actually aimed at skin detail. Add small negative Clarity (-5 to -15) only if the face still feels harsh afterwards.
Can I fix over-smoothed skin later?
In Lightroom, yes - edits are non-destructive, so pull the Texture slider back up. If the photo was exported over-smoothed, the texture is gone; re-export from the original.
See it work → try the free live demo