How to Do Frequency Separation in Photoshop (Step-by-Step Guide 2026)
Frequency separation is the gold standard of professional skin retouching. It separates your image into two layers - one for texture (pores, fine lines) and one for color/tone - allowing you to retouch each independently. The result is smooth, even skin that still looks completely real.
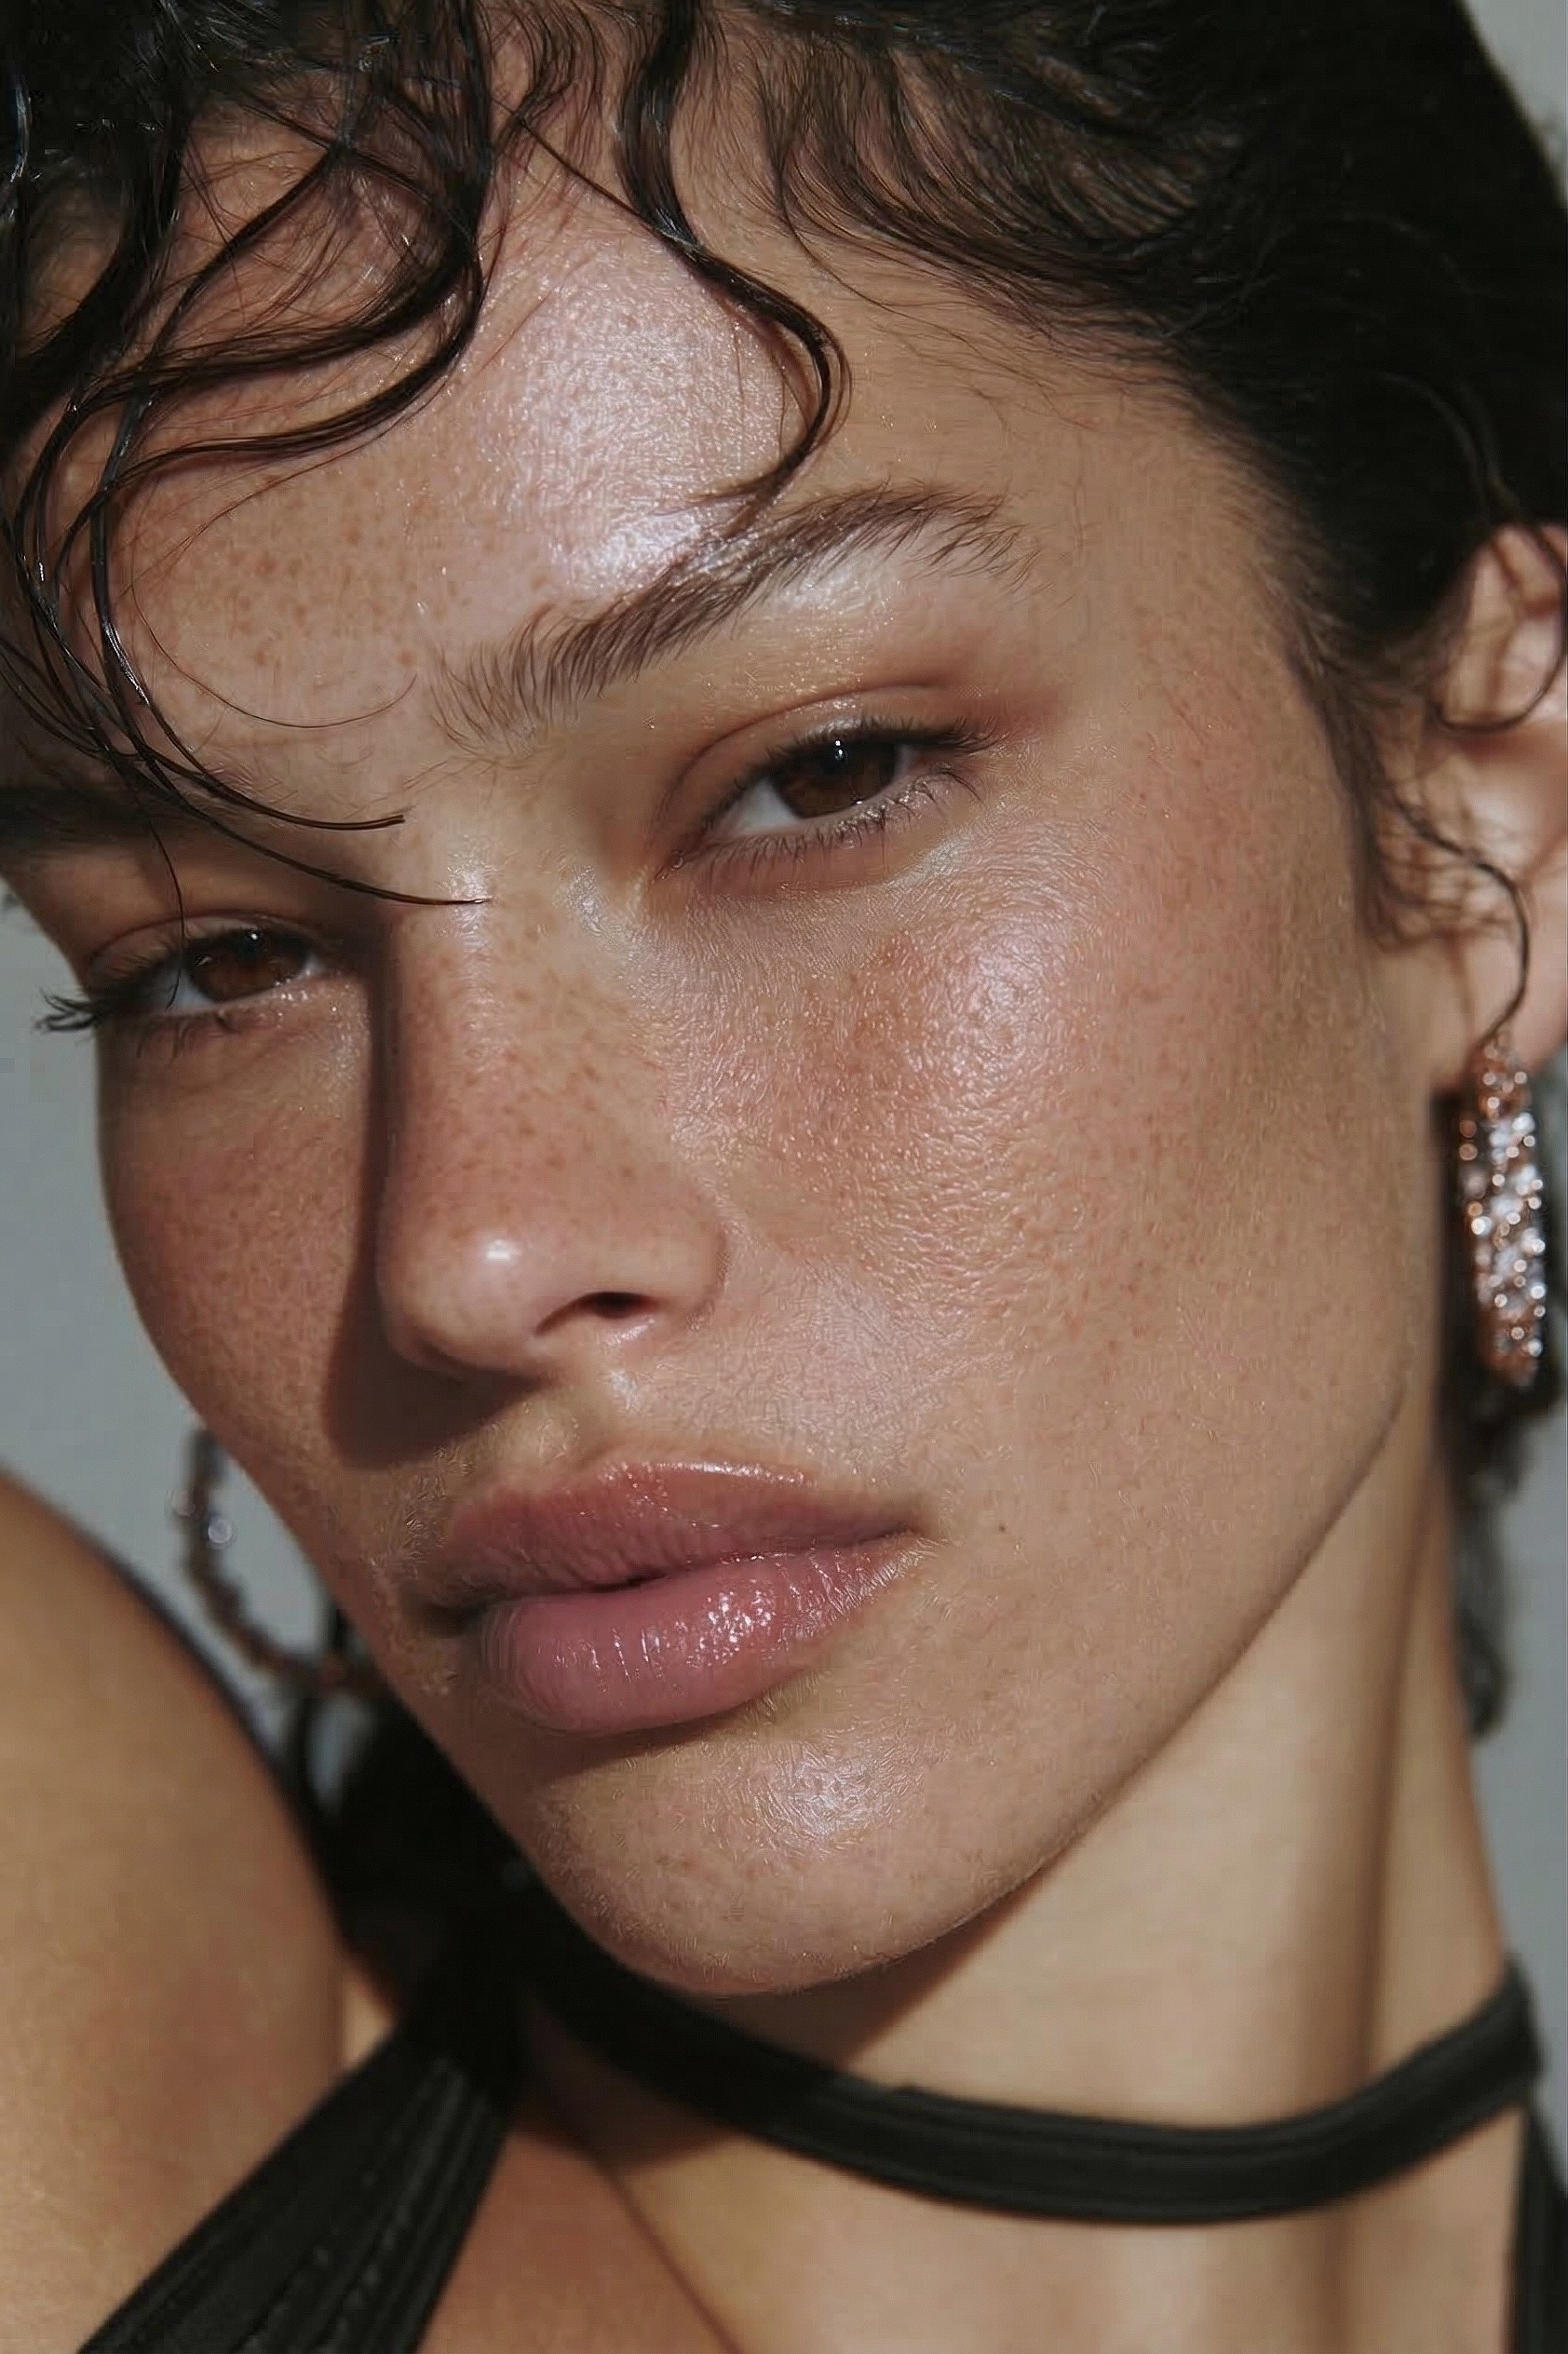 BEFORE
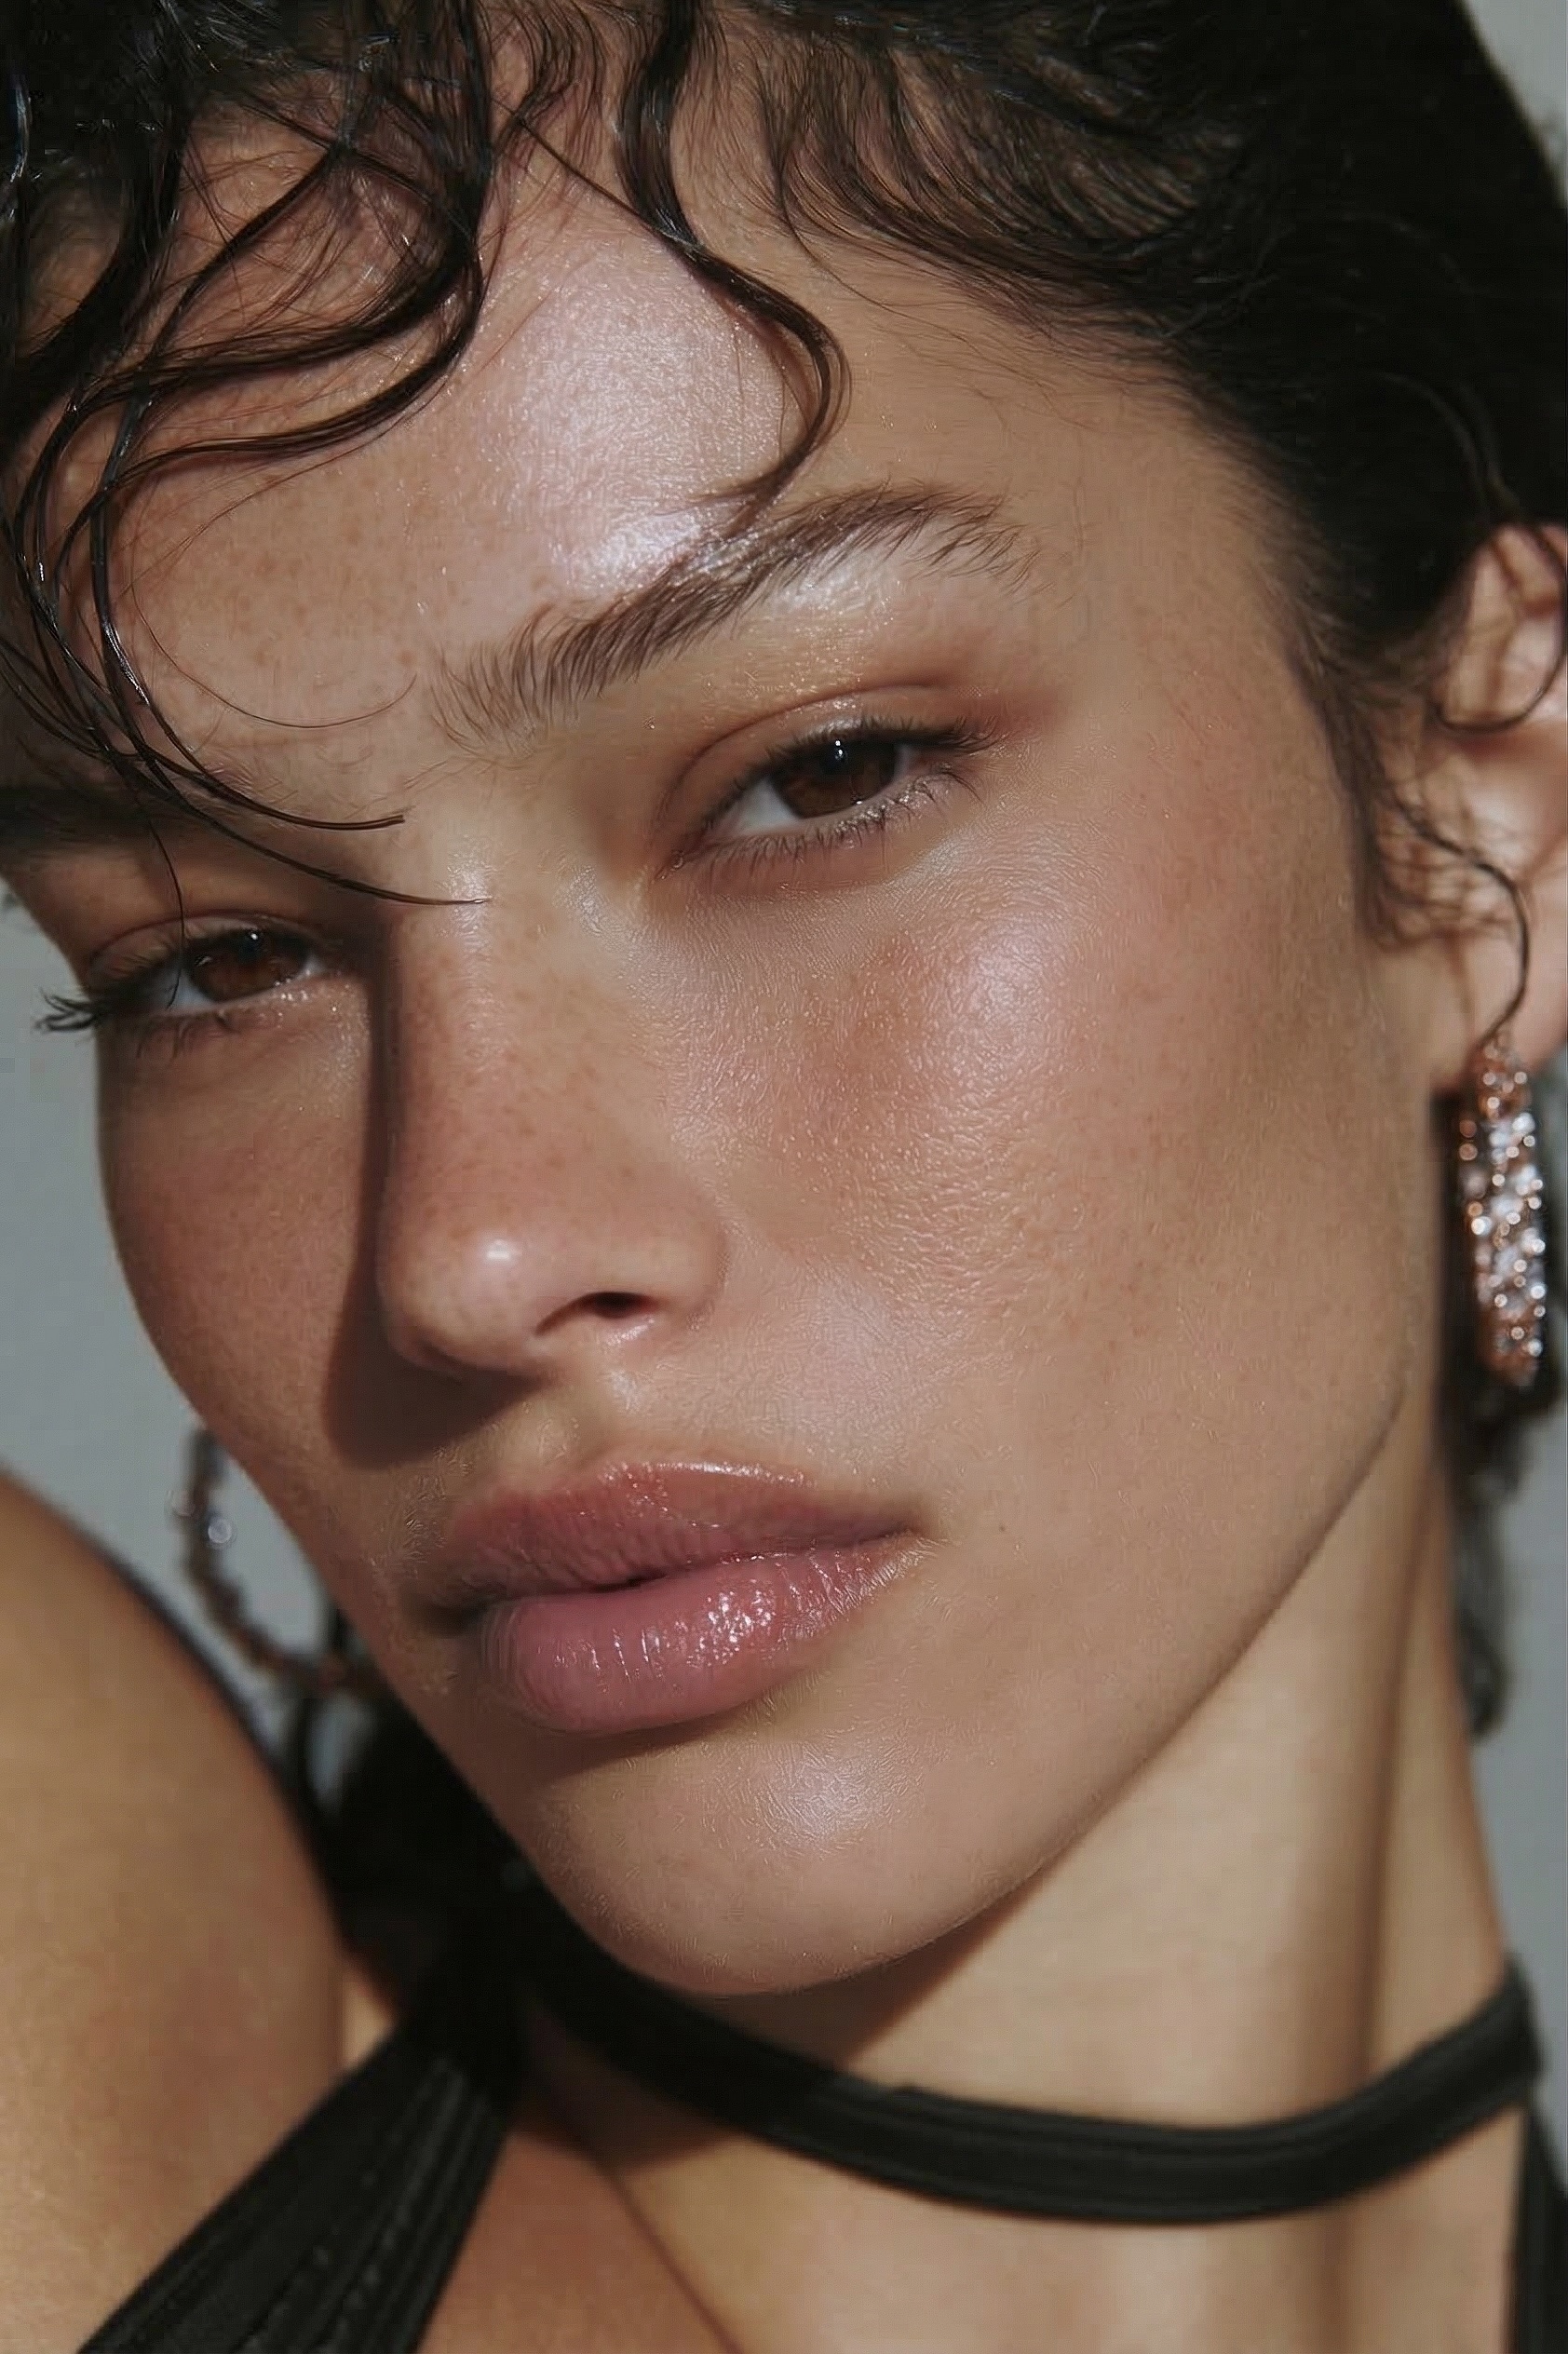 AFTER · 30s
In this guide I'll show you exactly how to do it manually in Photoshop - and at the end, a much faster method that gives the same results in 30 seconds.
⚡ The shortcut most working photographers use now
Frequency separation works — but it's 5 layers and 20–45 minutes per photo. The hack: RetouchLab Skin Pro does the exact same tone-vs-texture separation in one brush stroke — about 30 seconds, real texture kept. Read the full manual method below, or just skip to the shortcut.
FREE 3 DAY TRIAL →What is Frequency Separation?
Every portrait photo contains two types of information: texture (the high-frequency details - pores, hair, fine lines) and color/tone (the low-frequency information - skin color, shadows, uneven tone). Frequency separation splits these into separate layers so you can work on them independently.
When you smooth out skin tone on the low-frequency layer, the texture layer on top keeps all the real skin detail. That's why the result looks natural instead of plastic - the pores and texture are still there, just the color and tone underneath has been evened out.
What You Need
- Adobe Photoshop 2020 or newer
- A portrait photo (RAW or JPEG)
- About 20–45 minutes per photo (manually)
Step-by-Step: Manual Frequency Separation
Duplicate your layer twice
Open your portrait in Photoshop. In the Layers panel, duplicate your background layer twice (Ctrl/Cmd + J, twice). Name the bottom copy "Low Frequency" and the top copy "High Frequency".
Apply Gaussian Blur to the Low Frequency layer
Hide the High Frequency layer. Select the Low Frequency layer. Go to Filter → Blur → Gaussian Blur. Set the radius to 4–8px depending on your image resolution - you want the skin to look blurry but the overall tones to still be visible. Click OK.
Apply Apply Image to the High Frequency layer
Make the High Frequency layer visible and selected. Go to Image → Apply Image. Set Layer to Low Frequency, Blending to Subtract, Scale to 2, Offset to 128. Click OK.
Change the High Frequency layer blend mode to Linear Light
In the Layers panel, change the High Frequency layer blend mode from Normal to Linear Light. Your image should now look exactly like the original - that means the separation worked correctly.
Retouch on the Low Frequency layer
Select the Low Frequency layer. Use a soft brush at low opacity (10–20%) to paint over uneven skin tone, redness, and shadows. Because you're only working on the tone layer - not the texture - the skin will stay looking real.
Retouch on the High Frequency layer
Select the High Frequency layer. Use the Healing Brush or Clone Stamp to remove specific blemishes, spots, or imperfections from the texture layer. Work in small areas with low opacity.
Pro tip: Always work non-destructively - add a blank layer above each frequency layer and work on that instead of directly on the pixels. That way you can undo specific strokes without redoing the whole retouch.
How Long Does It Take?
Done properly, manual frequency separation takes 20–45 minutes per photo. If you're shooting weddings or portraits with 50–200 photos to retouch, that adds up fast. 100 photos × 30 minutes = 50 hours of retouching.
Most photographers either skip proper retouching, rush it, or outsource it. None of those feel great.
The Faster Alternative
After years of doing frequency separation manually, I built a Photoshop plugin that does all of the above automatically - and turns it into a brush.
RetouchLab Skin Pro sets up the frequency separation layers automatically, adds dodge & burn and tone evening on top, and gives you 7 adjustable sliders to control the result. You paint over the skin with a brush and you're done in 30 seconds. Same quality. A fraction of the time.
Try RetouchLab Skin Pro
Frequency separation + dodge & burn + tone evening in one brush. From €39 on Adobe Exchange.
FREE 3 DAY TRIAL →Frequency Separation Tips
- Start with a clean base - fix major blemishes with the Healing Brush before starting frequency separation
- Use low opacity brushes - 10–15% opacity builds up gradually and avoids over-retouching
- Zoom in to 100% - you need to see the actual pixels to retouch accurately
- Don't over-smooth - the goal is even skin tone, not plastic skin. If you can't see any pores, you've gone too far
- Check at different zoom levels - zoom out to 25% periodically to see how the overall skin looks
Frequently Asked Questions
Is frequency separation hard to learn?
It takes practice. The setup is mechanical - five steps - but knowing how much to smooth is the real skill. Expect a few portraits before it feels natural, or use a brush-based plugin that handles the setup for you.
What Gaussian Blur radius should I use for frequency separation?
4 to 8 pixels for most portraits at full resolution. Higher-resolution files need a slightly larger radius. You want the skin tone blurred but the features still recognisable.
Frequency separation vs the Healing Brush - what is the difference?
The Healing Brush removes individual blemishes. Frequency separation evens out overall tone and texture across the whole face. Most retouchers use both - heal first, then separate.
Is frequency separation better than skin-smoothing sliders?
Yes. Sliders blur texture along with the flaws, which looks plastic. Frequency separation keeps the pores, so the skin stays real.
How long does frequency separation take?
About 20 to 45 minutes per photo by hand. A brush-based plugin does the same in around 30 seconds.