How to Retouch Skin in Photoshop Fast - Professional Results in 30 Seconds
Most photographers spend 20–45 minutes per photo on skin retouching. If you're shooting 10–20 sessions a week, that's hours every day - just on retouching. This guide covers three methods from fastest to most detailed, so you can choose what works for your workflow.
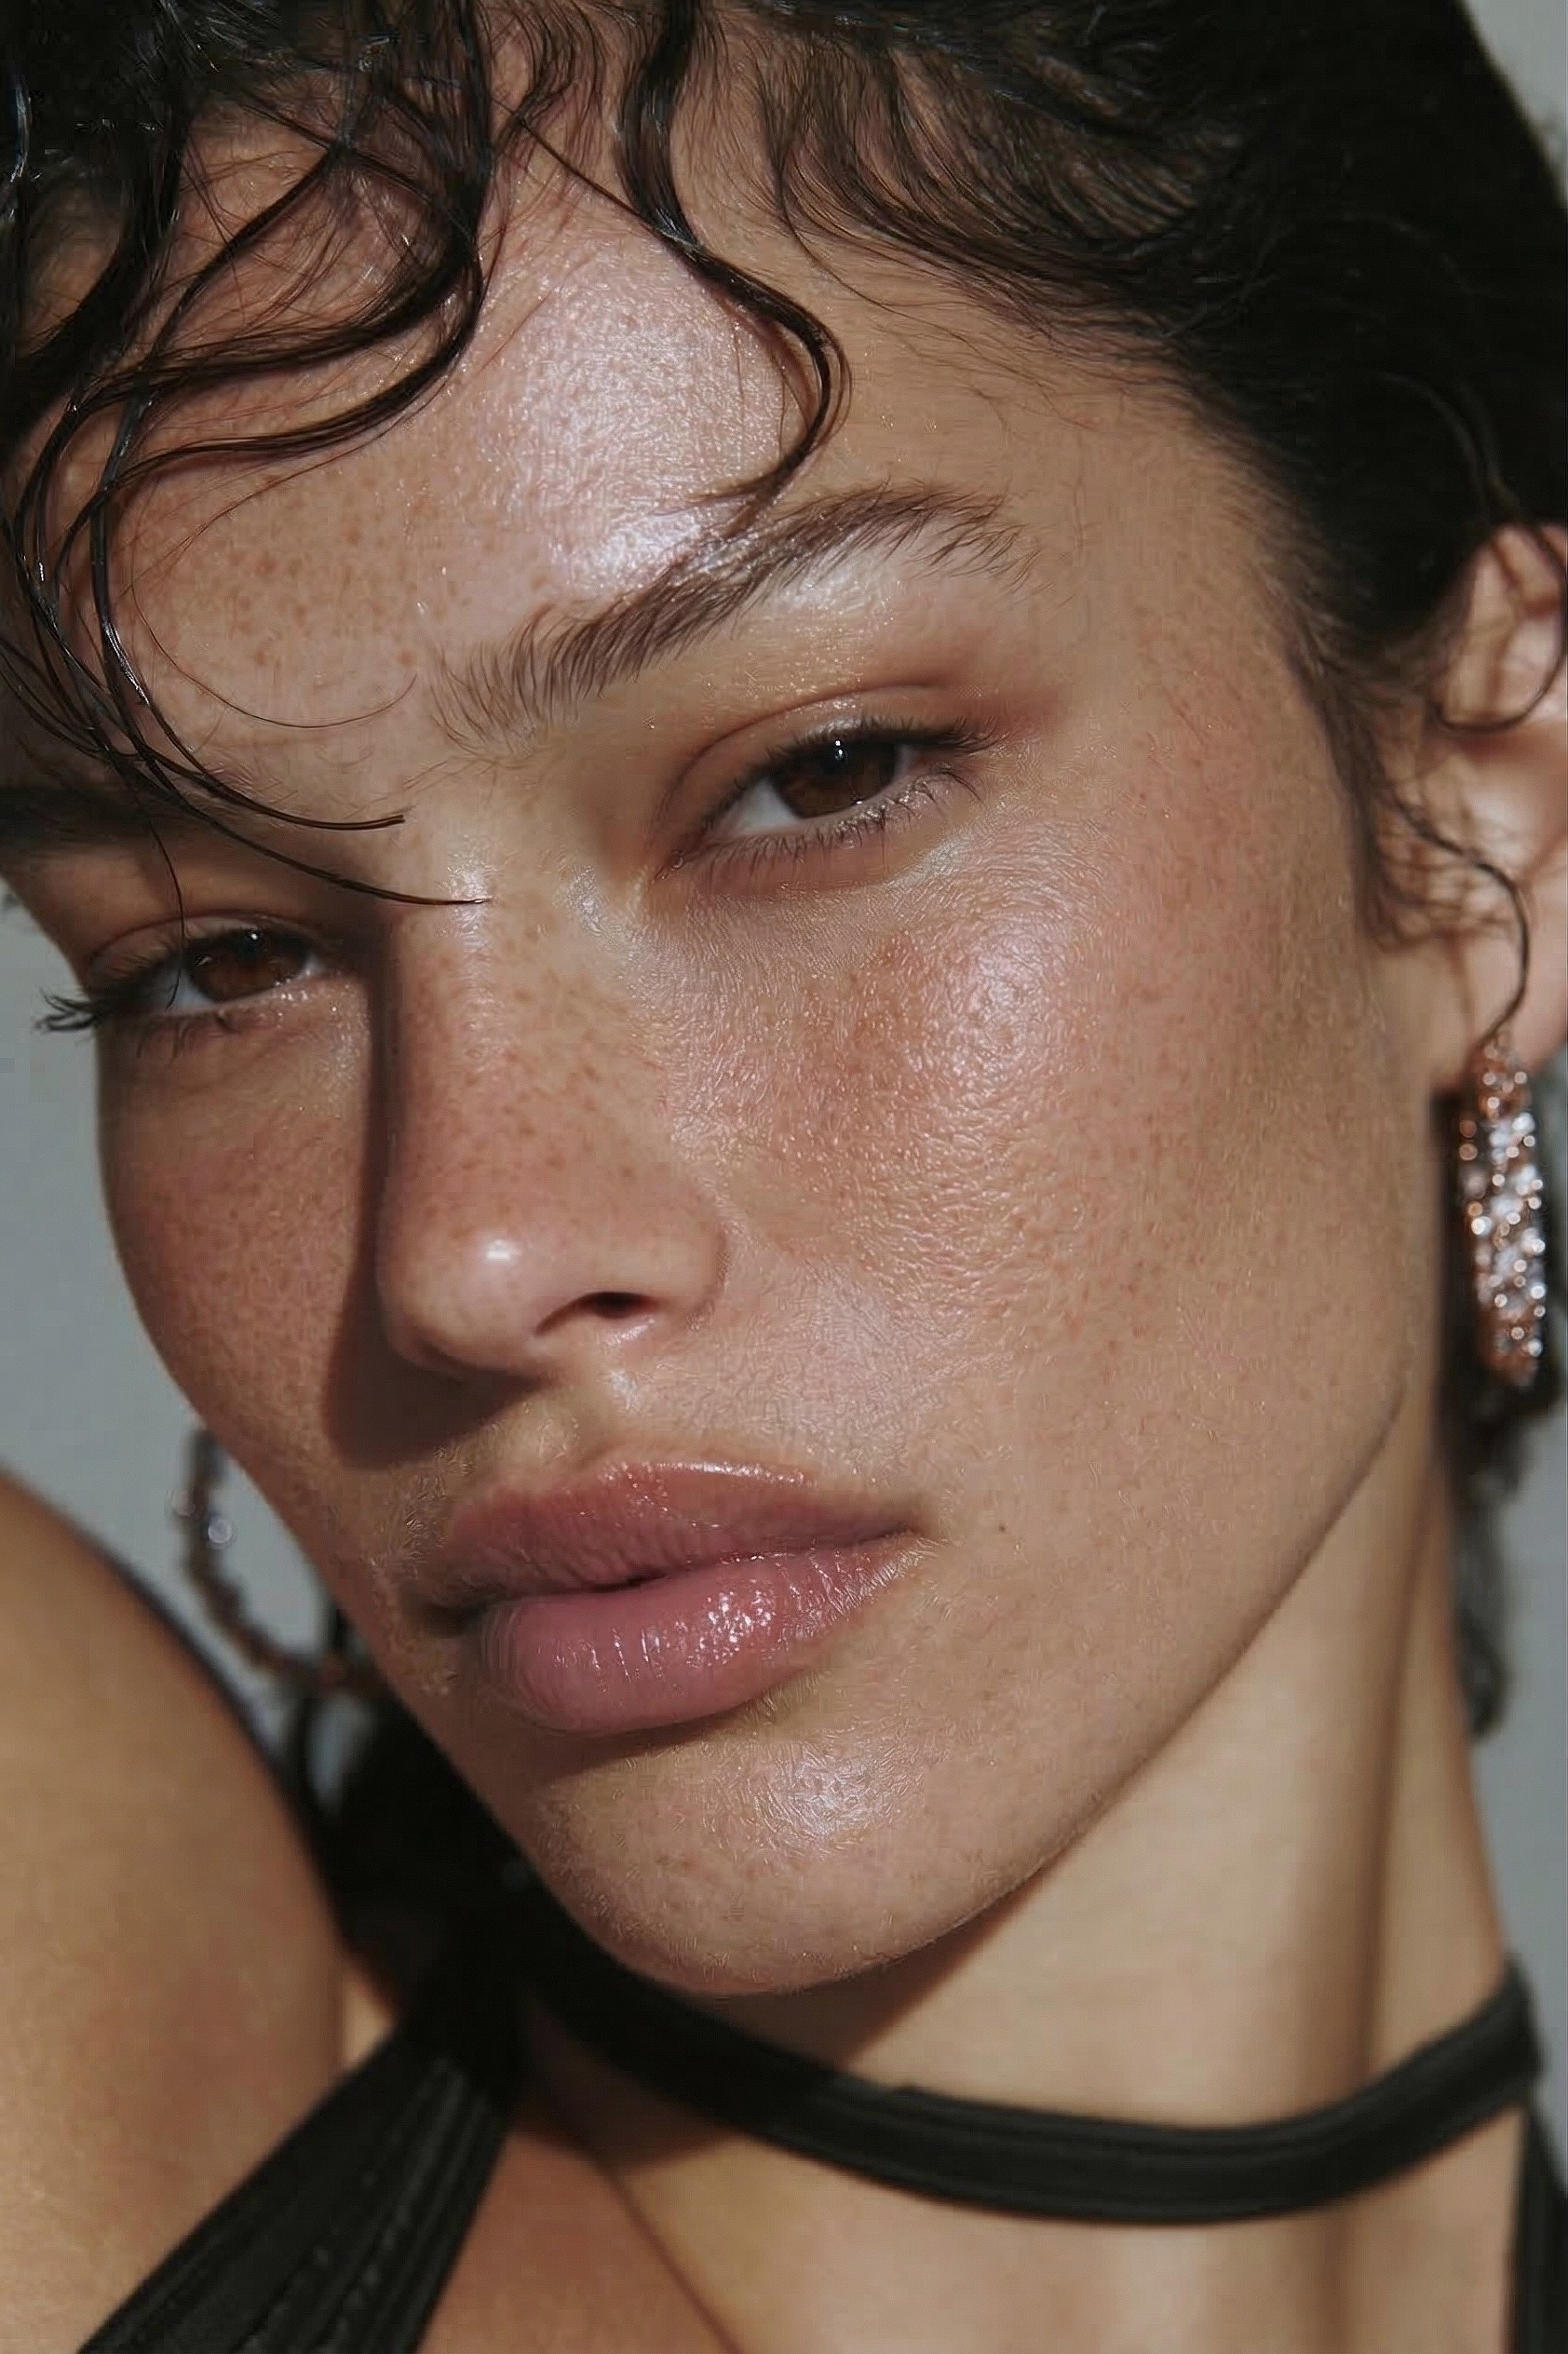 BEFORE
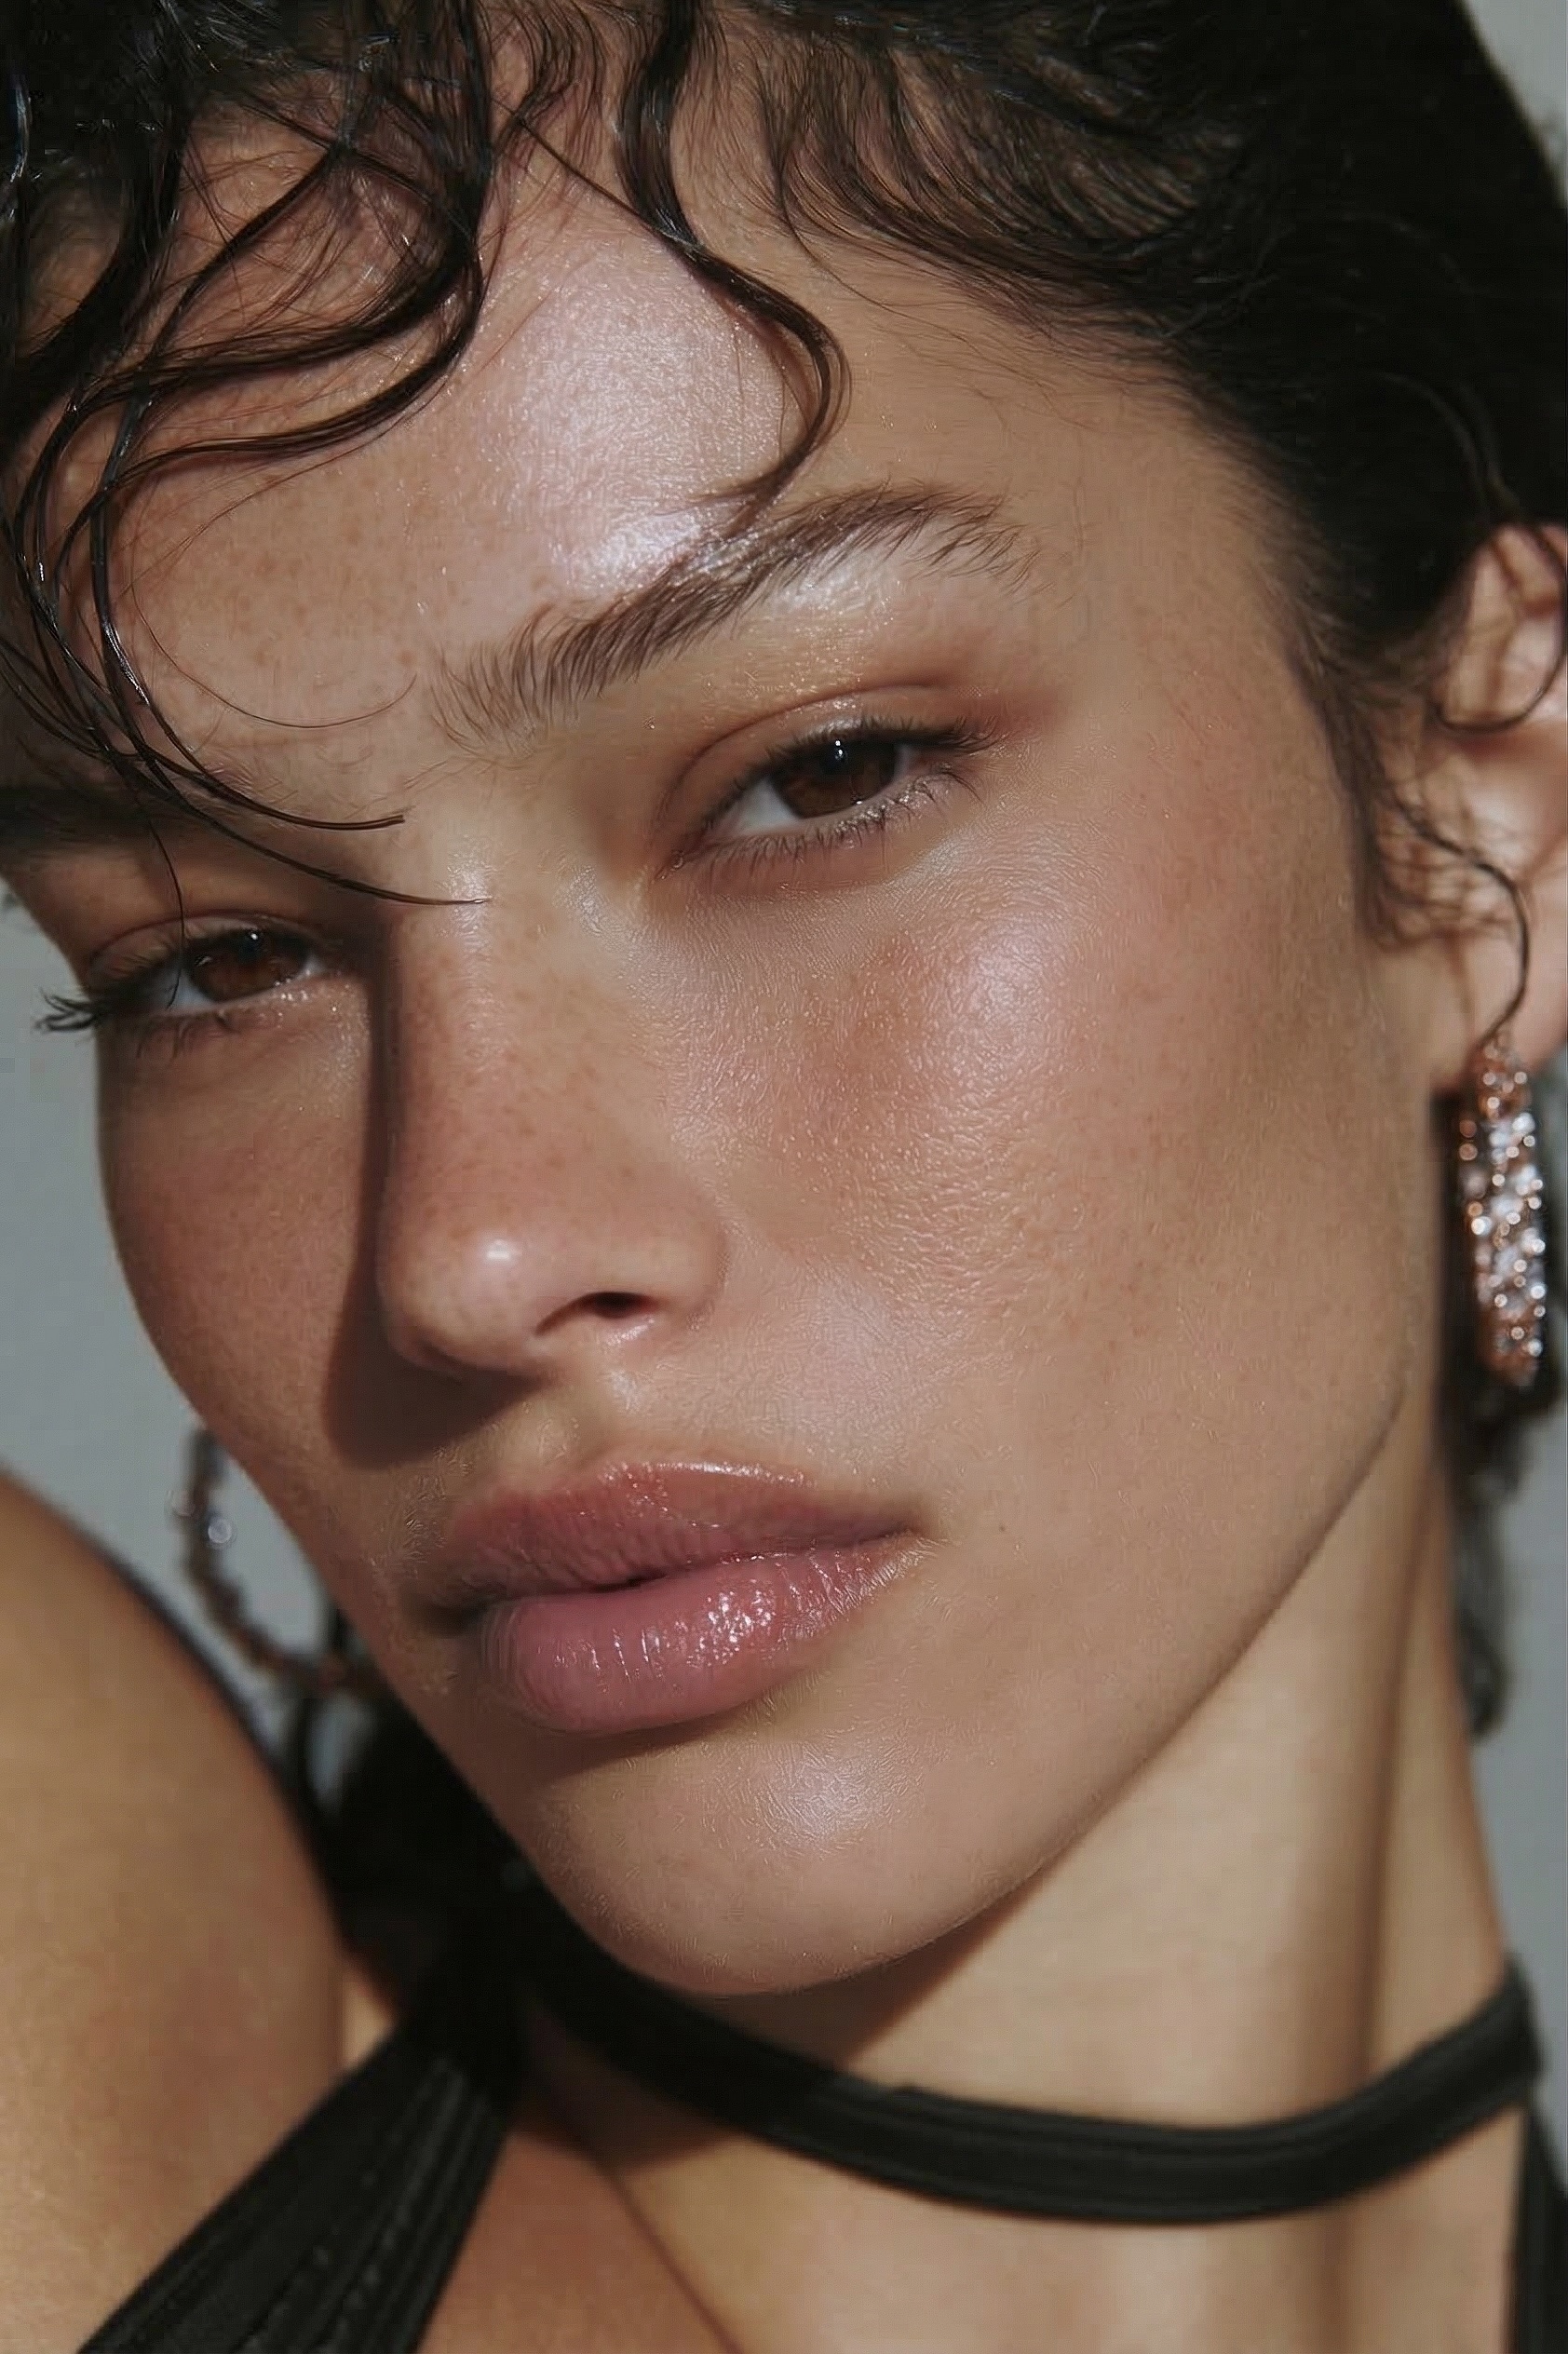 AFTER · 30s
⚡ The actual 30-second method
Even most "fast" methods still need layers and setup per photo. The real shortcut: RetouchLab Skin Pro does frequency separation + dodge & burn + tone evening in one brush — about 30 seconds, texture kept. Read the full method below, or just skip straight to it.
FREE 3 DAY TRIAL →Why Most Fast Methods Fail
The problem with "fast" skin retouching is that speed usually comes at the cost of quality. AI tools smooth everything automatically - and it shows. Plastic skin with no pores, the same look on every photo, clients asking for re-edits because "it doesn't look natural."
The goal isn't just speed - it's speed without losing the natural look. Here's how to do both.
Method 1: Healing Brush + Spot Healing
Best for: removing specific blemishes, spots, and temporary skin issues. Not great for overall skin smoothing.
- Duplicate your layer (Cmd/Ctrl + J)
- Select the Spot Healing Brush (J)
- Click on individual blemishes - Photoshop fills them automatically
- Use the Healing Brush for larger areas by Alt-clicking a clean area first
Good for quick fixes but won't even out overall skin tone or texture.
Method 2: Surface Blur
- Duplicate layer, go to Filter → Blur → Surface Blur
- Set Radius 10–20px, Threshold 10–20 - adjust until skin looks smooth
- Add a black mask (Alt + click mask icon)
- Paint white over skin areas with a soft brush
Faster than frequency separation but destroys texture. Works for web-sized images, not large prints.
Method 3: Frequency Separation
The proper way. Separates texture from tone so you can smooth skin while keeping real pores and natural texture. Full frequency separation tutorial here →
Best results but most time-consuming - not practical for batch retouching.
Method 4: RetouchLab Skin Pro (30 seconds)
This is what I use now. RetouchLab Skin Pro is a Photoshop plugin that combines frequency separation, dodge & burn, and tone evening into a single brush. The plugin sets up all layers automatically - you just paint over the skin.
- Open portrait in Photoshop
- Launch RetouchLab Skin Pro from Plugins menu
- Click "Run Retouch"
- Paint over skin with your brush
- Adjust 7 sliders to taste - done
Same quality as manual frequency separation. 100x faster. Skin texture is preserved - you can still see pores. 7 parameters let you control exactly how much retouching happens where.
The secret to fast retouching: Don't try to make skin perfect. Your goal is to make it look like the person had a great skin day - not like a CGI character. Less is always more.
Which Method Should You Use?
- 1–3 photos, minor fixes: Healing Brush is enough
- Quick web delivery: Surface Blur + mask
- High-quality prints, editorial work: Frequency separation manually
- Any volume above 5 photos: RetouchLab Skin Pro - saves hours every week
Retouch skin in 30 seconds - professionally
RetouchLab Skin Pro - frequency separation + dodge & burn in one brush. From €39.
FREE 3 DAY TRIAL →Why Fast Retouching Usually Looks Fake
Most "fast" methods are fast because they blur the whole face, which wipes the texture and gives that plastic, airbrushed look. Real speed comes from evening the tone only and leaving the pores intact. A brush-based plugin like RetouchLab Skin Pro separates tone from texture automatically, so you get studio-quality skin in seconds without the fake finish. Natural smoothing and frequency separation explain the underlying technique.
Frequently Asked Questions
What is the fastest way to retouch skin in Photoshop?
A brush-based plugin that combines frequency separation, dodge and burn, and tone evening, about 30 seconds per photo versus 15 to 20 minutes manually.
How do I retouch skin fast without it looking fake?
Even the tone but keep the texture. Speed comes from a tool that smooths tone only and leaves the pores, so fast does not mean plastic.
How do photographers retouch wedding galleries so fast?
They use brush-based plugins and consistent settings, retouching each face in seconds rather than building manual layers per photo.
Can I batch retouch skin in Photoshop?
You can speed skin work dramatically with a one-brush plugin; combined with actions and presets, a full gallery becomes hours faster.
Retouch Skin in 30 Seconds
One brush for frequency separation, dodge & burn, and tone evening — fast skin that still keeps its texture.
FREE 3 DAY TRIAL →