How to Remove Blemishes in Photoshop Fast
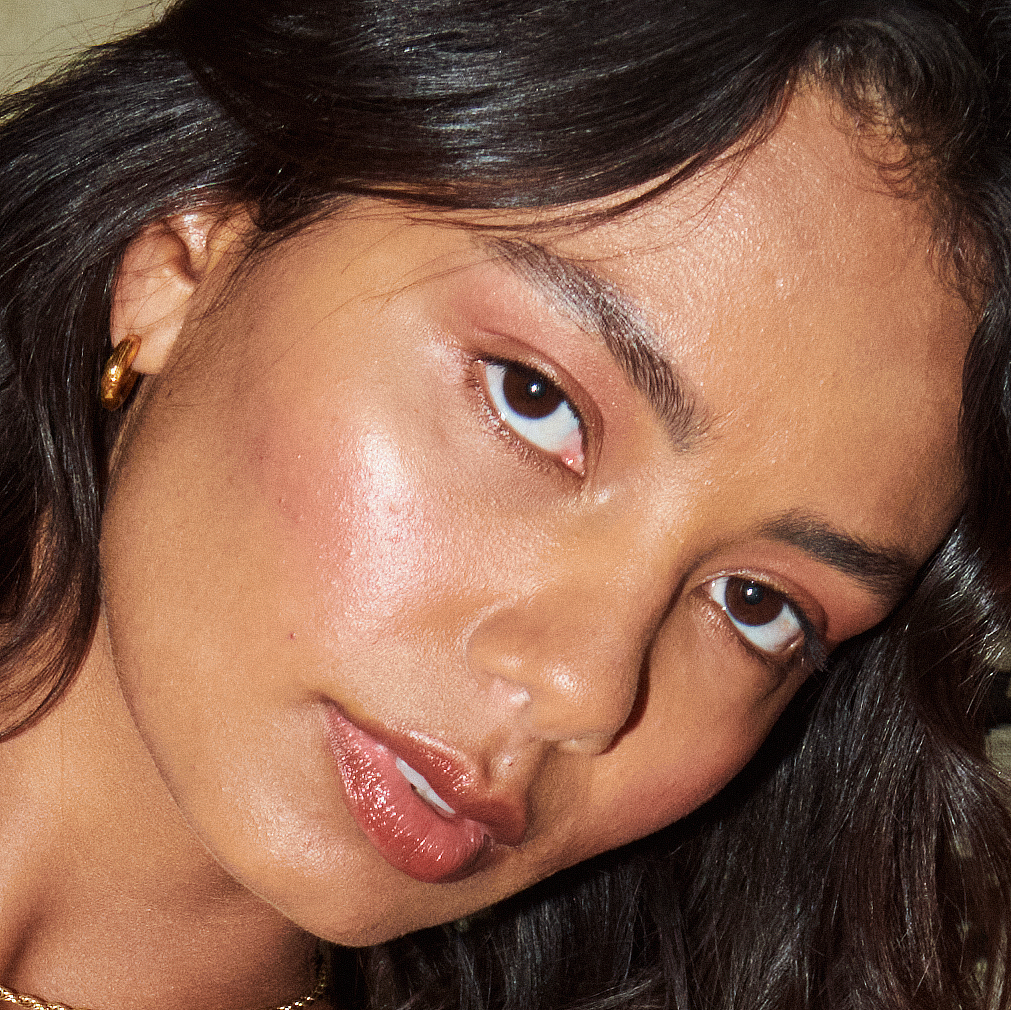 BEFORE
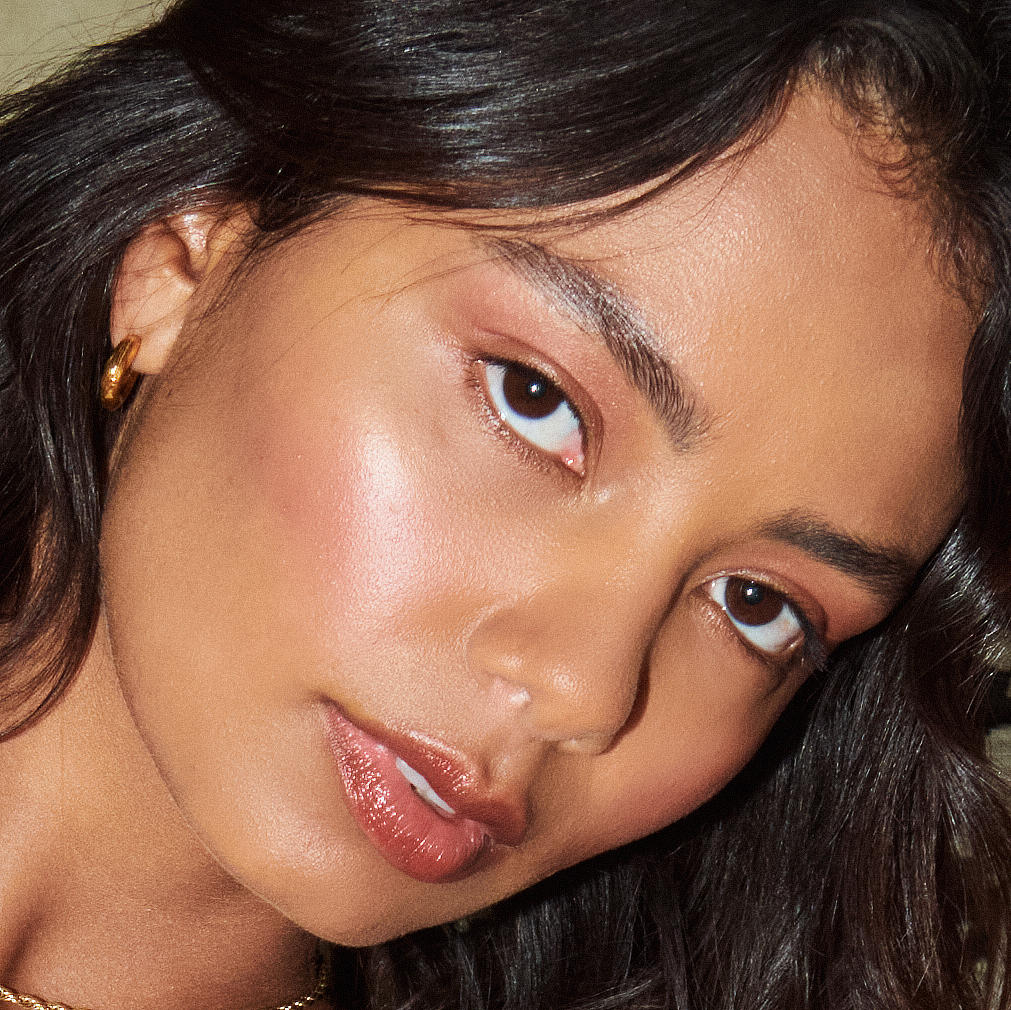 AFTER · 30s
Removing blemishes is easy. Doing it across hundreds of photos without losing your evening is the real problem.
⚡ The shortcut for clean, real skin
Healing every blemish by hand and then fixing the texture takes forever — and a whole gallery is brutal. The hack: RetouchLab Skin Pro clears uneven skin and evens tone in one brush (~30 seconds per face), keeping real pores. Read the manual steps below, or just skip to the shortcut.
FREE 3 DAY TRIAL →Which Tool for Which Blemish
Photoshop gives you four healing tools, and picking the right one saves a lot of frustration:
- Spot Healing Brush (J) — the default. Click a spot and Photoshop samples nearby skin automatically. Best for isolated blemishes.
- Healing Brush — you Alt-click a clean source first, then paint. Better when the area around the blemish isn't uniform, like near the hairline or the edge of the face.
- Patch Tool — draw a selection around a larger mark and drag it onto clean skin. Good for bigger patches of discolouration.
- Clone Stamp — full manual control for tricky spots where healing smudges.
The Step-by-Step Method
- Work on a new empty layer. With the Spot Healing Brush selected, tick Sample All Layers — your edits stay non-destructive and reversible.
- Size the brush just larger than the blemish. Use the
[and]keys. Too big and it samples the wrong skin; too small and you leave an edge. - Click once, don't drag. A single click heals cleaner than scrubbing. If it smudges, undo and switch to the Healing Brush with a manual source.
- Zoom in and check the texture. A good heal leaves pores, not a smooth blank patch. If it looks blurred, that spot needs the Clone Stamp at low opacity.
Remove Acne Without Looking Fake
The mistake that screams "over-retouched" is smoothing the whole area instead of healing the individual spots. Remove the blemish, but leave the surrounding skin — pores and all — exactly as it was. Clear, not plastic. New to retouching? Start with the beginner's guide to skin retouching.
For a Whole Gallery
Clicking every blemish on 300 photos is hours of work. RetouchLab Skin Pro lets you brush over an area and clear blemishes while keeping texture — about 30 seconds per photo, consistent across the set. Pair it with natural skin smoothing for a finished result.
Clear Skin, Whole Gallery
Brush away blemishes without clicking each one. Texture stays real, results stay consistent — 30 seconds per photo.
FREE 3 DAY TRIAL →Frequently Asked Questions
What's the best tool to remove blemishes in Photoshop?
The Spot Healing Brush for a few. For volume, a brush-based plugin is far faster and more consistent.
How do I remove acne without making skin look fake?
Heal the blemish but keep surrounding texture. Don't smooth the whole area — that's what looks fake.
Can I remove blemishes across a whole gallery quickly?
Yes — a brush-based plugin handles a full gallery in an evening instead of clicking each spot by hand.
Clear Skin, Whole Gallery
Brush away blemishes without clicking each one. Texture stays real, results stay consistent — 30 seconds per photo.
FREE 3 DAY TRIAL →See it work → try the free live demo