How to Speed Up Your Photo Editing Workflow - 10 Tips for Photographers
I used to spend 3–4 days editing after every wedding. Now I deliver the same quality in under a day. Here are the 10 changes that made the biggest difference - starting with the ones that save the most time.
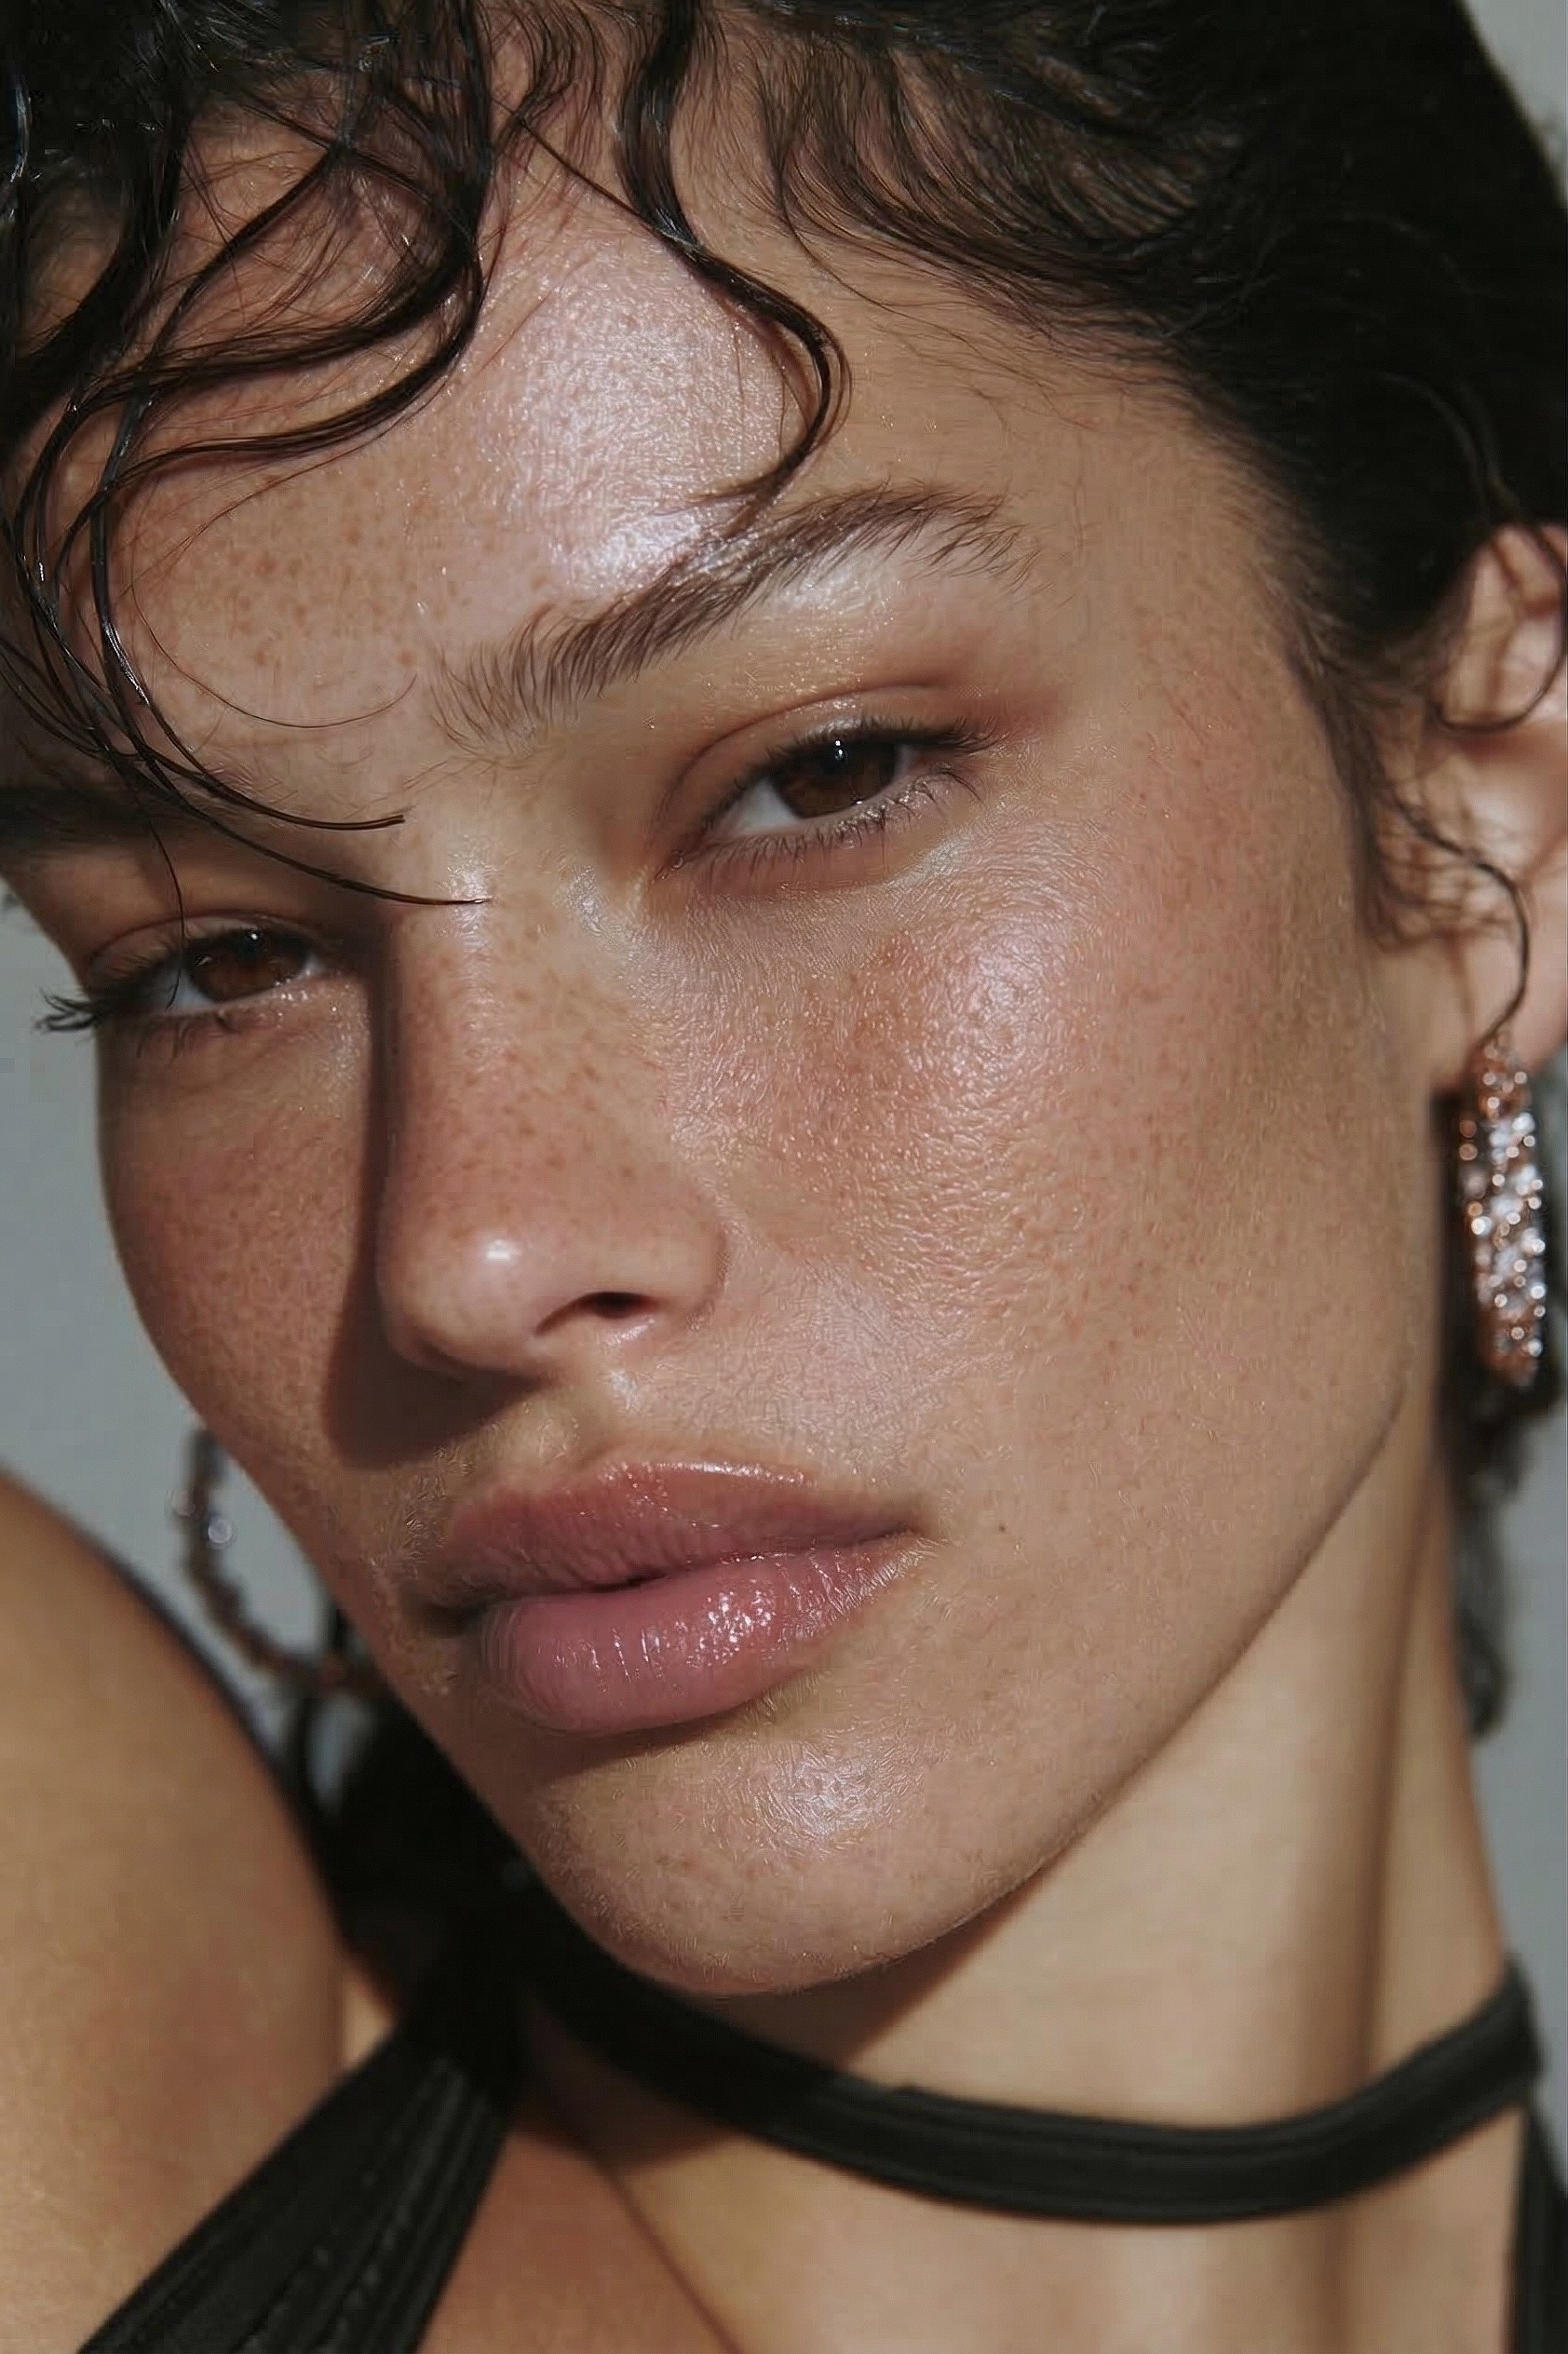 BEFORE
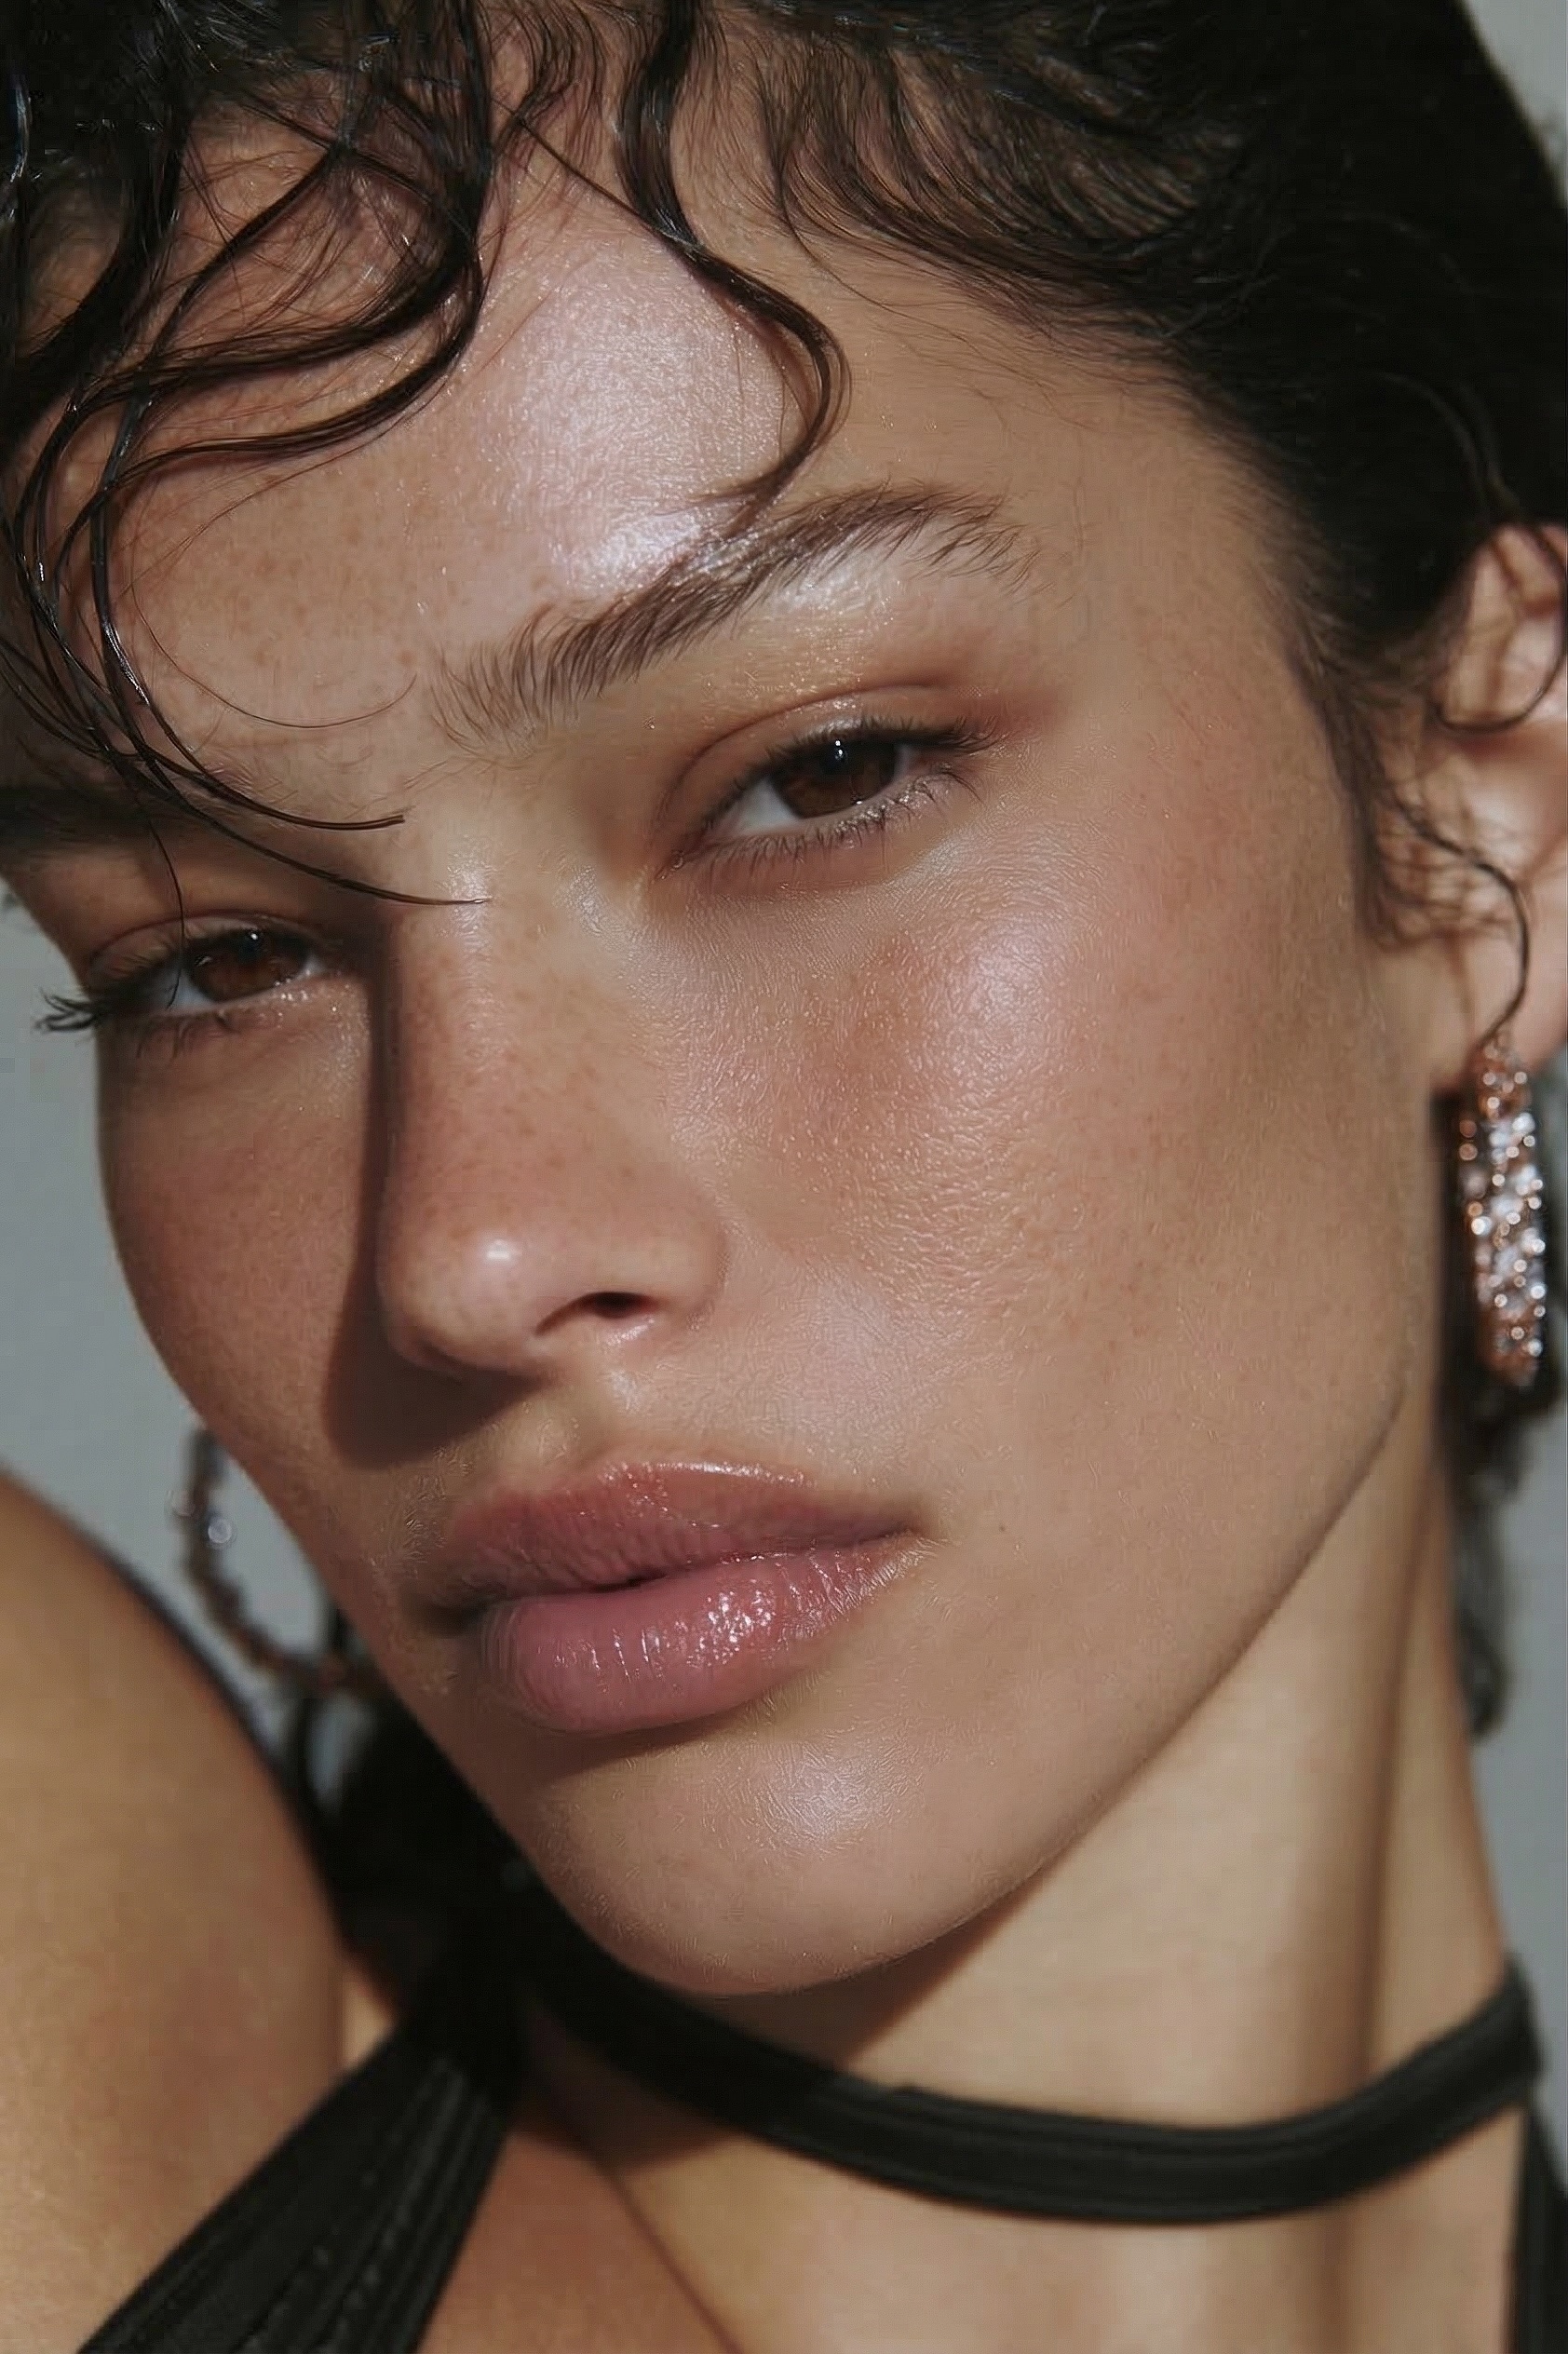 AFTER · 30s
⚡ The slowest part — fixed in one brush
For most photographers the workflow bottleneck is skin retouching — 15–45 minutes per gallery. The hack: RetouchLab Skin Pro cuts it to ~30 seconds per face (frequency separation + dodge & burn + tone, one brush). Read the 10 tips below, or fix the biggest one right now.
FREE 3 DAY TRIAL →The 10 Tips
Use a skin retouching plugin instead of doing it manually
Manual frequency separation takes 20–45 minutes per photo. A good plugin like RetouchLab Skin Pro does the same in 30 seconds. For 100 photos that's the difference between 3 days and 2 hours - just on skin retouching alone.
Batch edit in Lightroom before going to Photoshop
Apply your base exposure, color grading, and lens corrections to all photos in Lightroom first using Sync Settings. Only send the final selects to Photoshop for detailed retouching. This alone cuts editing time by 30–40%.
Build Photoshop Actions for repetitive tasks
Any multi-step process you do on every photo - sharpening, noise reduction setup, export settings - record it as a Photoshop Action. Play it with one keystroke. Takes 10 minutes to set up, saves hours every week.
Cull ruthlessly before editing
Most photographers edit too many photos. For a 1-hour portrait session, deliver 20–30 final images - not 80. Use Photo Mechanic or Lightroom's star rating to reject blurry, duplicate, and unflattering frames before touching Photoshop.
Learn keyboard shortcuts
The most underrated time saver. In Photoshop: B for brush, J for healing, [ ] for brush size, Cmd+J to duplicate layer. Shaving 2 seconds off every action adds up to 30+ minutes per editing session.
Edit in blocks, not one by one
Do all your culling first. Then all your Lightroom edits. Then all your Photoshop retouching. Switching between tasks constantly kills focus and speed. Batch the same type of work together.
Use Lightroom Presets for consistent base edits
Build or buy a set of presets that match your style - one click applies your base grade. You'll still tweak per image but starting from your style saves 5–10 minutes per photo on color work.
Set delivery expectations with clients upfront
Many photographers over-edit because they're afraid clients will complain. Set clear expectations - "you'll receive 30 fully retouched portraits" - so you're not endlessly tweaking hoping they'll be happy with more.
Use Smart Objects for non-destructive editing
Convert layers to Smart Objects before applying filters. This means you can re-edit any filter setting later without starting over. Saves huge amounts of time when clients request changes.
Track your editing time for one week
Most photographers have no idea how long they actually spend editing. Use a simple timer for one week. The data is usually shocking - and it makes it very clear where you need to optimize first.
The biggest time saver on this list
RetouchLab Skin Pro - skin retouching from 45 minutes to 30 seconds per photo. From €39 on Adobe Exchange.
FREE 3 DAY TRIAL →